Dealing with the LC's Speakers
[land-cruiser I’m not an audiophile, and I’m not an audio-gadget guy, but I do appreciate quality sound. When I heard heavy buzzing and scratching while listening to the news or to music, I get sad inside. Audio artifacts like those have been bugging me for years, but they don’t have an easy fix.
The 2004’s audio system includes an amplifier that is integrated into the car’s heating and cooling system in a way I just can’t understand. This makes it impossible to swap the amplifier out for something else (though others have essentially built an aftermarket audio system on top of the original, integrated system).
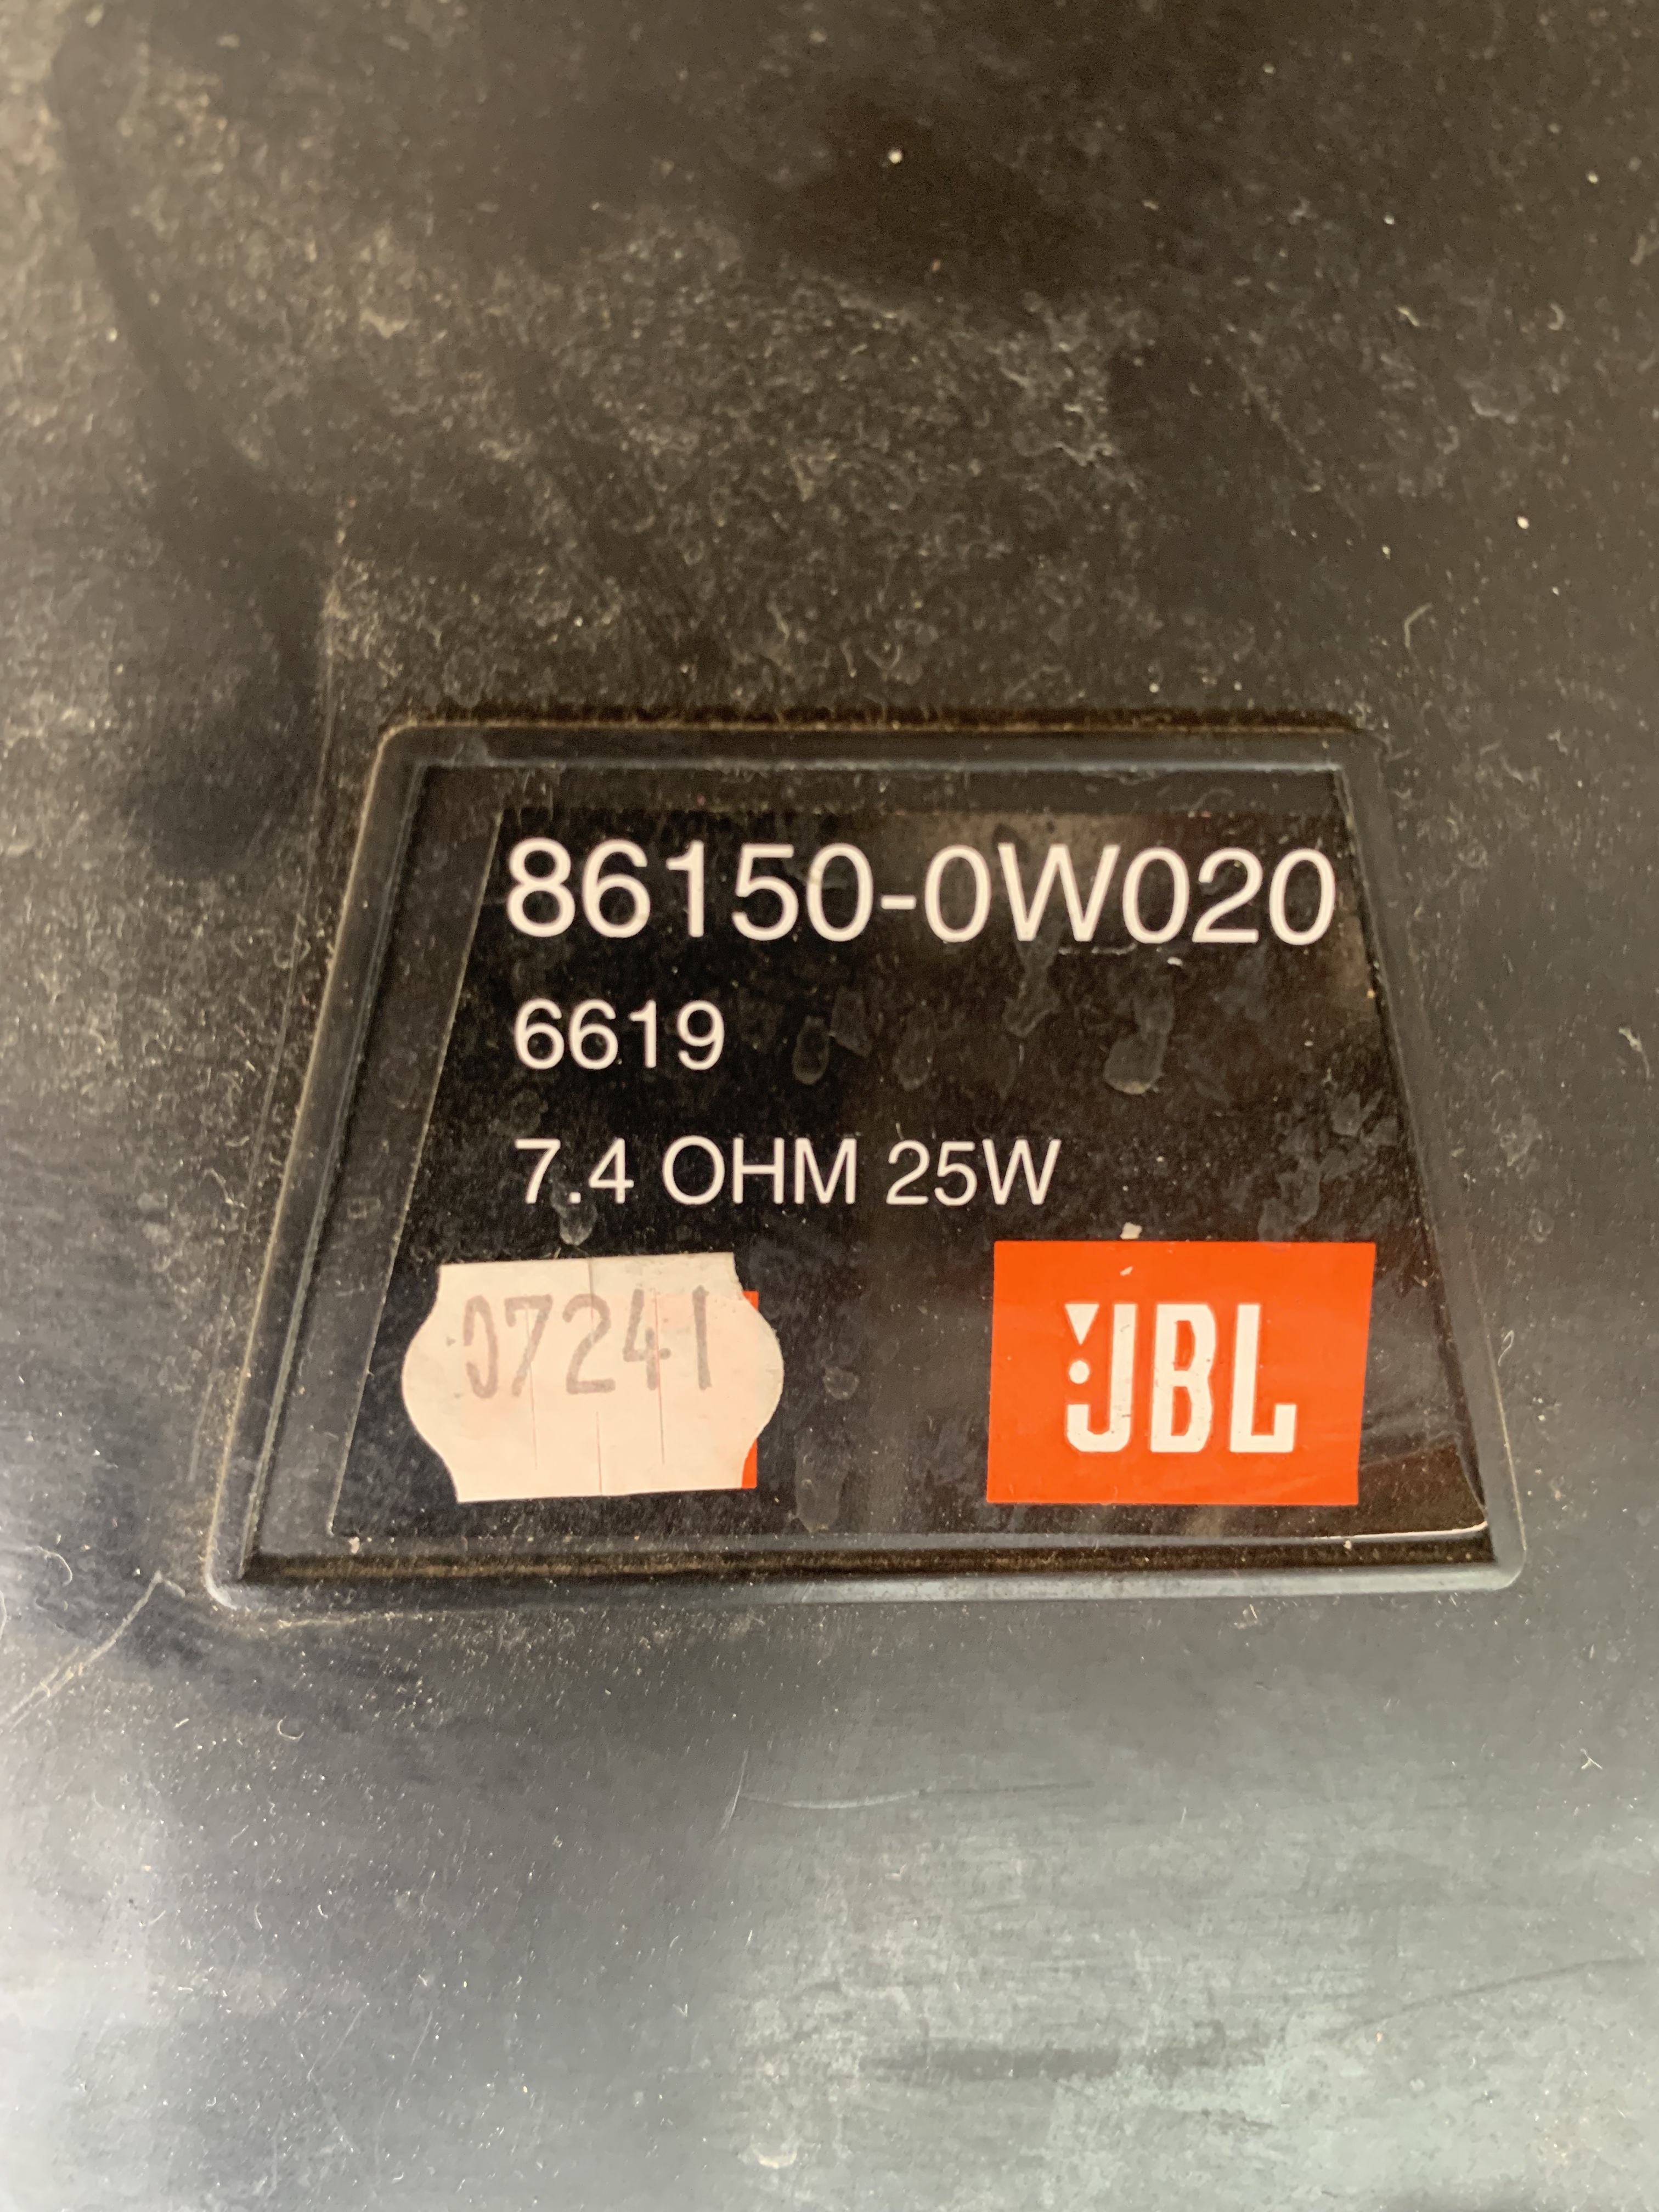
The factory JBL speakers are 2.0 ohm (front) and 2.3 ohm (rear). Most replacement speakers are not 2.0 or 2.3 ohm. Those that are 2.0 phm are expensive! The standard impedance appears to be 4 ohm. From what I’ve read, swapping a a 4 phm speaker for a 2 ohm speaker won’t cause a natural disaster, but there are some performance issues, like less range in volume.

Front Speakers
Last year, my PS power window stopped moving, so I pulled the door panel. It became immediately apparent that my speakers deserved some attention.
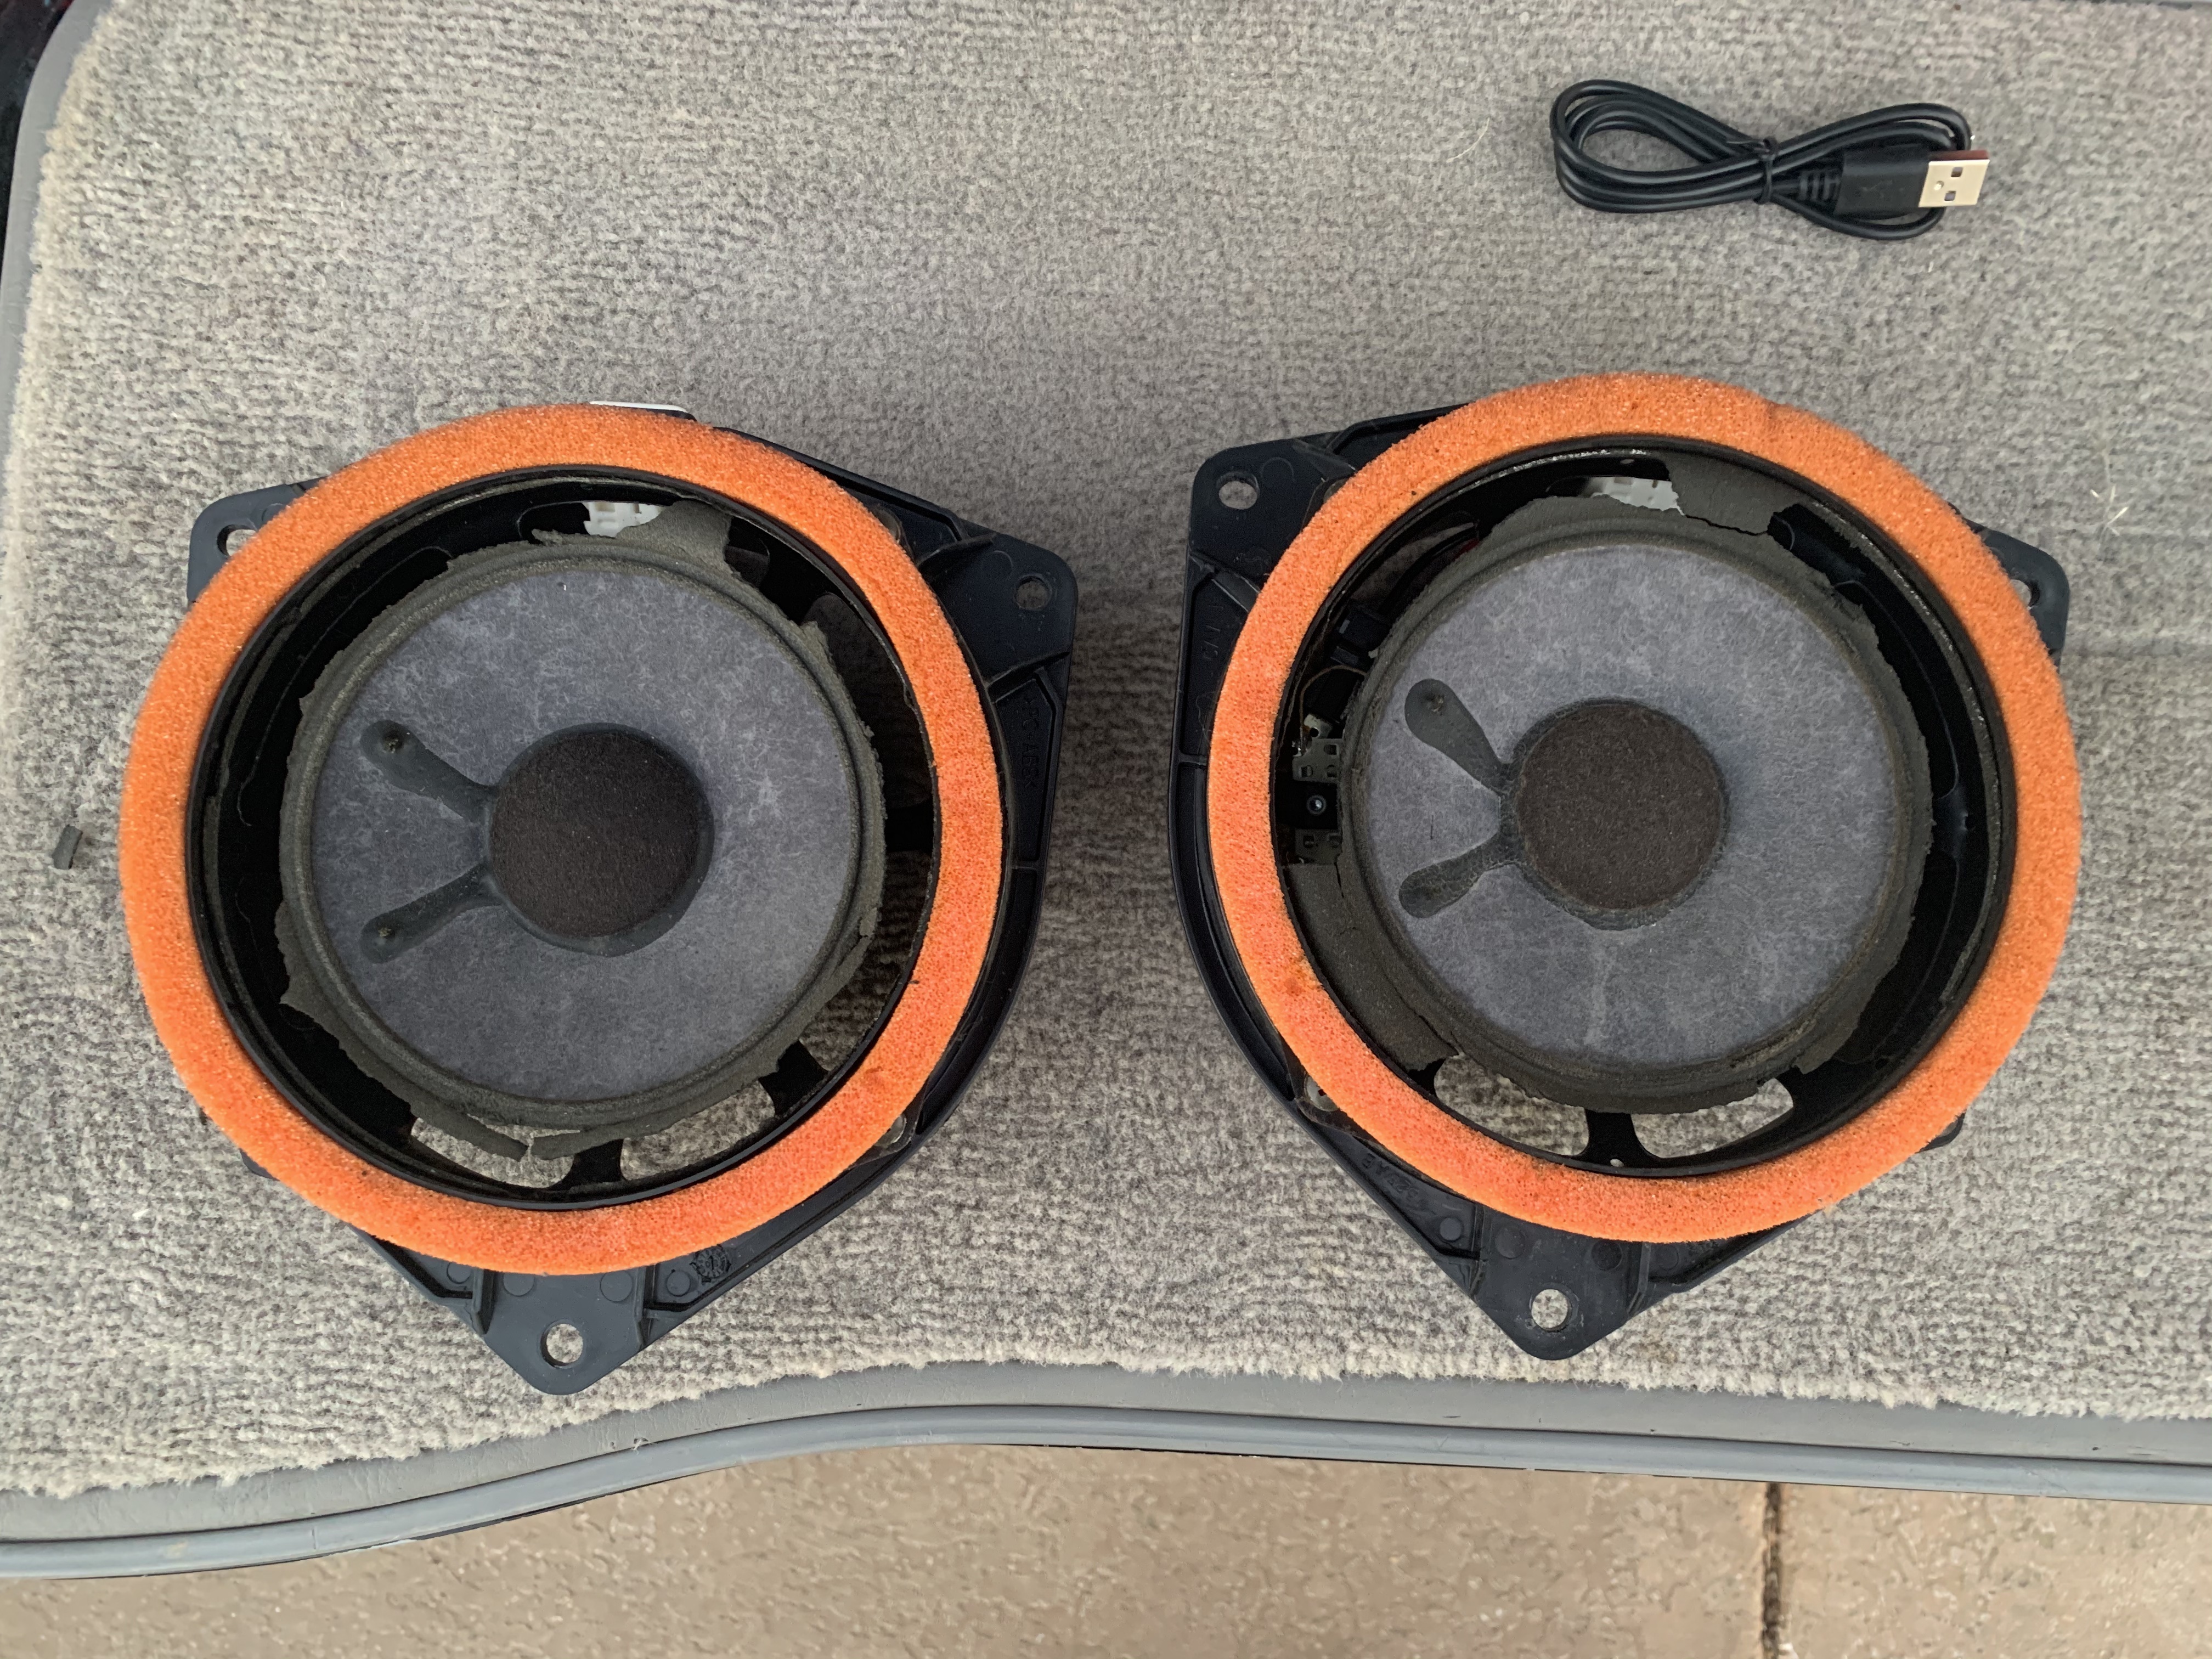
Both front speakers had shredded foams. A little internet surfing revealed the idea of ‘refoaming’ a speaker. It looked easy enough so I decided it might be an economical way to go. I didn’t know how to begin, so I brough the speakers to a small speaker shop in Oxnard (can I find a link), and the guy there said they didn’t have the supplies to refoam, but if I bought them and brought them back with the speakers, someone in the shop could do the job.
“We’d just go online to get the same reform kit that you would, anyway. You can save some money getting it yourself,” he said.
Then I asked him if they sold any speakers that could replace these old JBLs.
“Oh, don’t do that,” he said. “The new speakers won’t sound nearly as good. Your paper cones are much more dynamic than the new synthetics.”
Right there, he sold me on reforming and not replacing. He told me to use the model number on the speaker to search for the refoaming kit, and I was off to the races.
I ordered a kit through eBay from Midwest Speaker Repair1. It arrived right away, and the instructions were pretty clear. Before I got to work, I looked for a video on refoaming and I found this one from KRTLYFE. It helped me understand that
- the orange foams sits atop a plastic gasket that’s adhered to the outer edge of the foam, and it needs to be pulled off before teh refoaming can begin,
- the materials from the old foam ring can be removed from the paper cone with a fingernail, and
- the foam remnants on the speaker assembly can be gently cleared with a chisel and some isopropyl alcohol.
This advice and the directions from Midwest Speaker Repair made refoaming an easy job. By the end of the afternoon, my speakers were ready to reinstall, but I let the glue continue to dry and set overnight.
Rear Speakers
While that was happening, I took a look at my rear speakers, assuming I’d see the same kind of damage. Not at all! The foam looked great on both. One thing that surprised me that was each speaker has an integrated tweeter. Interesting.
All I did to those speakers was replace the cloth on the grill.
Subwoofer
In my research, I read somewhere that the subwoofer could be repaired in the same way and with the same foam I used for the front speakers. So I decided to dig into the cargo area to see how the subwoofer looked. (I suspected that it had problems.)
Getting at the subwoofer was more of a challenge. It required
- removing the hinged skirt betwen the cargo area and the tailgate,
- removing the 14mm bolts that secure the seat belts to the body,
- using a T10 torx to remove a body panel from one of the seat lock points in the floor, and
- popping off the threshold piece in the DS back door.
With those off, I was able to pop the side panel off the body to reveal the subwoofer assembly, a long and narrow black container with a speaker embedded near one end. It was secured by five bolts that could be removed by a phillips head driver. With those removed and a wiring harness disconnected, the subwoofer came loose but didn’t come out until I popped off the panel above it.
The speaker was set into the box and surrounded by foam. It wasn’t clear how to remove the speaker and reform it, so I turned to YouTube and found this video of a guy tackling this project, too. But he was removing the faculty speaker and replacing it with some $16 PYLE speaker. I was just going to refoam.
This meant I couldn’t detatch my speaker from the subwoofer housing to clean the old foam off and refoam, but there was enough slack in the wire to make that work easy.
I ordered a refoaming kit from Simply Speakers, refoamed the subwoofer, and put all the pieces of the truck back together again.2

Testing the Job
To test the performance of the new speakers, I drove around the neighborhood playing Daft Punk’s Tron: Legacy Reconfigured at moderate volume. The track has a wide range of sounds and textures. It made that subwoofer work! Color me pleased.
-
I was surprised to see that Midwest Speaker Repair is a small shop in Roseville, MN, my home town. Their address is a matter of blocks from where I used to catch the bus to school as a kid. ↩
-
Except I forgot to replace a gasket that went on top of the speaker rim, on top of the foam. Oh, well. I put that gasket in a ziploc bag with a note identifying its purpose, and maybe it’s get back where it belongs some day. ↩