Ben3DBuild's broken tab fix
[land-cruiser In December, I started trying to fix an issue with my PS power window. It led me to remove my power window master switch, and my indelicate methods caused me to break off the small plastic tab that helps hold the switch place in place. I tried to use my new hot glue gun to re-affix the broken tab, and it worked for a while. But summer temps weakened that bond, and the tab browke off again.
I had noticed that Benjamin of Ben3DBuild (a.k.a., BenCC) has used CAD and 3D printing to design several products for the 110 series. One of these is Make 24, EZFix of door switch panel.
This is a small, solid piece that fits onto the underside end of a switch panel, with grooves for the structural ridges in the panel.
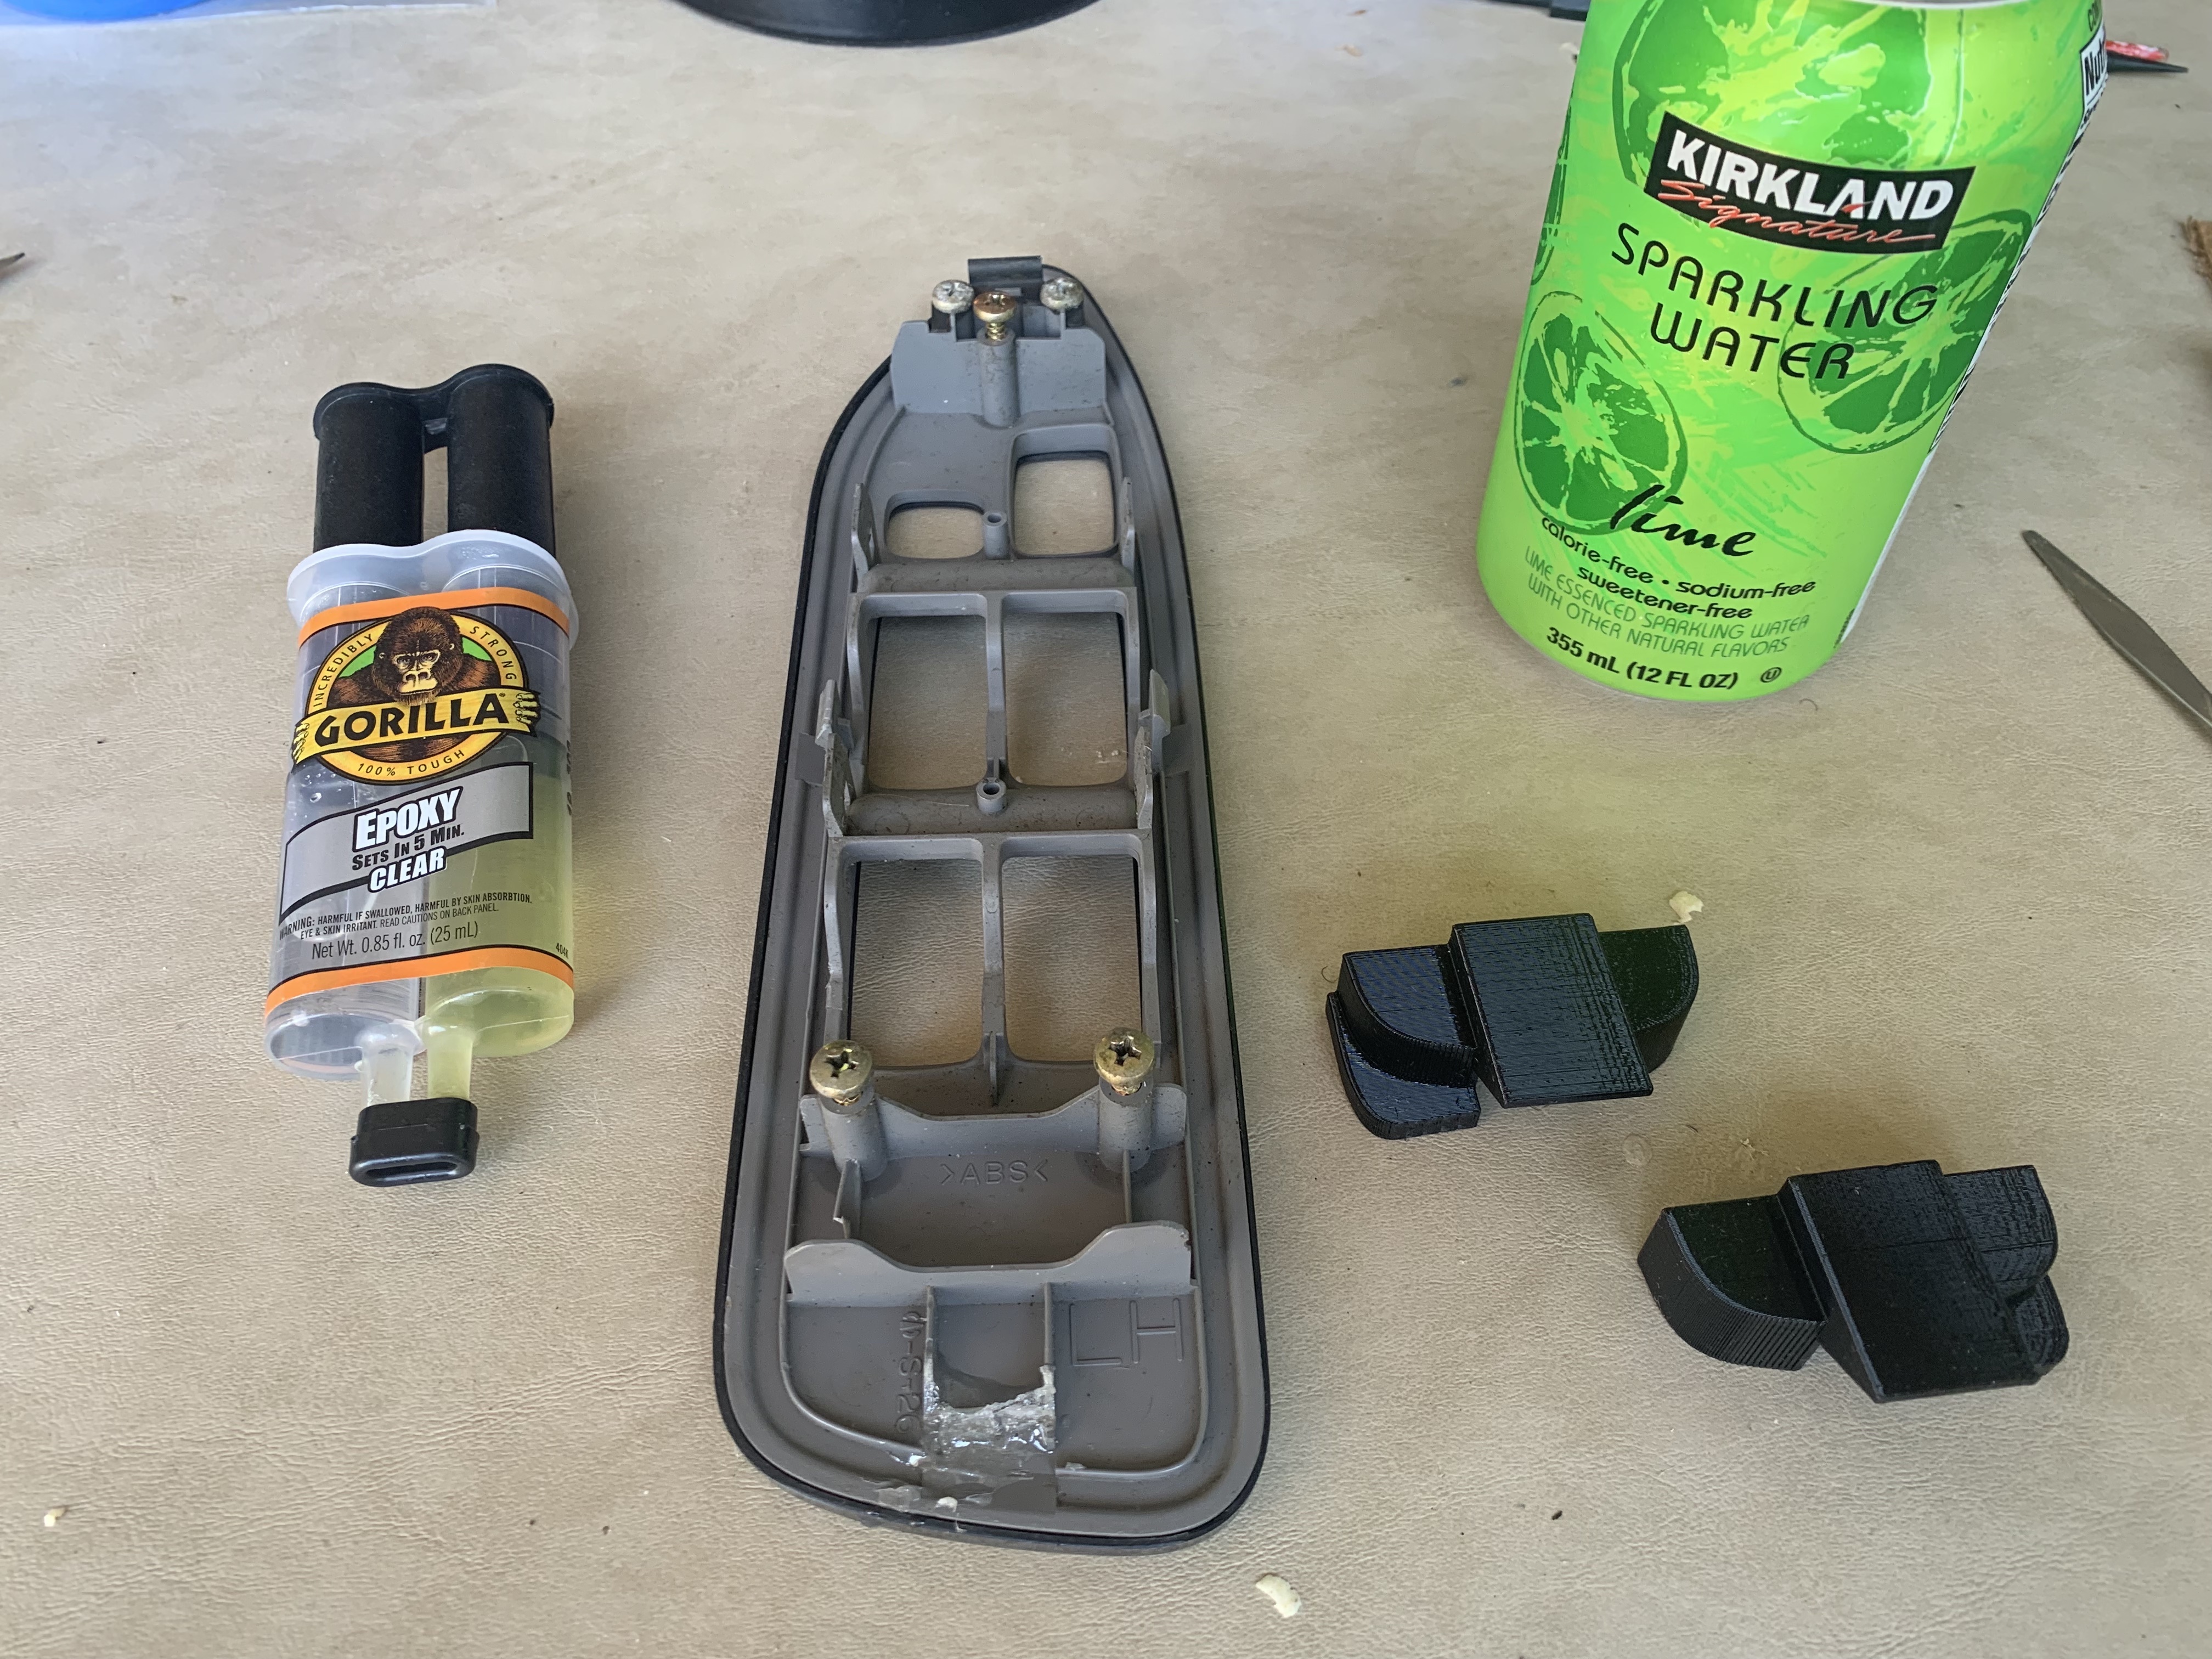
I had also broken a tab for the PS rear door switch panel, so Ben sent me two.
After using an exacto knife to carve away glue from my attempt with the hot glue gun, I used JB Weld to affix this part to the DS switch panel, and I held it in place overnight with a clamp.1
So far, it’s working great!
-
I made the mistake of trying to use a heat gun to soften the old glue to make it easier to remove, but the heat gun softened the switch plate’s plastic, causing parts of the plastic to ‘wilt’. I needed to think fast about how to undo that damage before affixing the 3D printed part with the JB Weld. ↩