One Day Build - Workbench and Organizers
[maker Today, I pursued some inspiration from the @donttrythis one-day-build where he fixed up a worktable in his lair and created custom dividers for drafting tools that lived in that table’s drawer. That one day build opened my eyes to the power of a hot glue gun and made me see how my work space (my cluttered garage) would benefit from a work table like Savage’s.
After getting my hands on a FastenMesser adjustable temperature glue gun1, I found a workbench for sale on Facebook Marketplace. The bench had been in a bike shop (a good selling point for me, as I used to work in one), had four drawers, and was long and narrow (20 inches by 60 inches). I talked the selled down by 25% and picked it up. First inspection revealed that it was a bit wobbly side-to-side, but I knew how to deal with that, thanks to the one-day-build video.
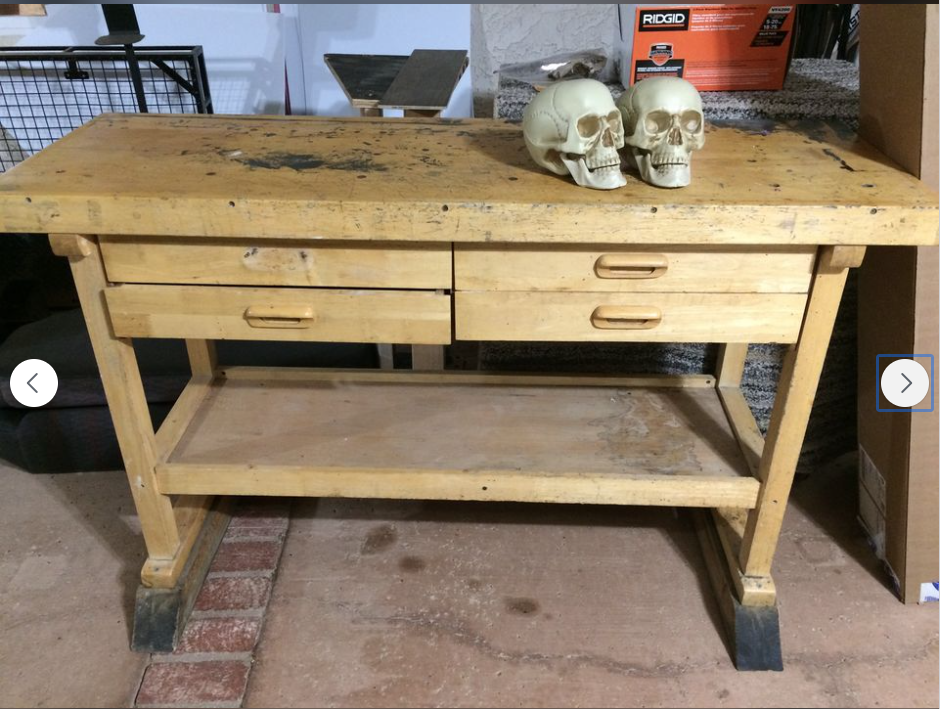
The supply store didn’t have anything I could use for braces to get the wobble out, but those can be added anytime. I focused on adding the casters and making organizers for the drawers.
Casters
I flipped the workbench on its top to do the work. Here I laid out my tools on the bottom side of the workbench shelf.
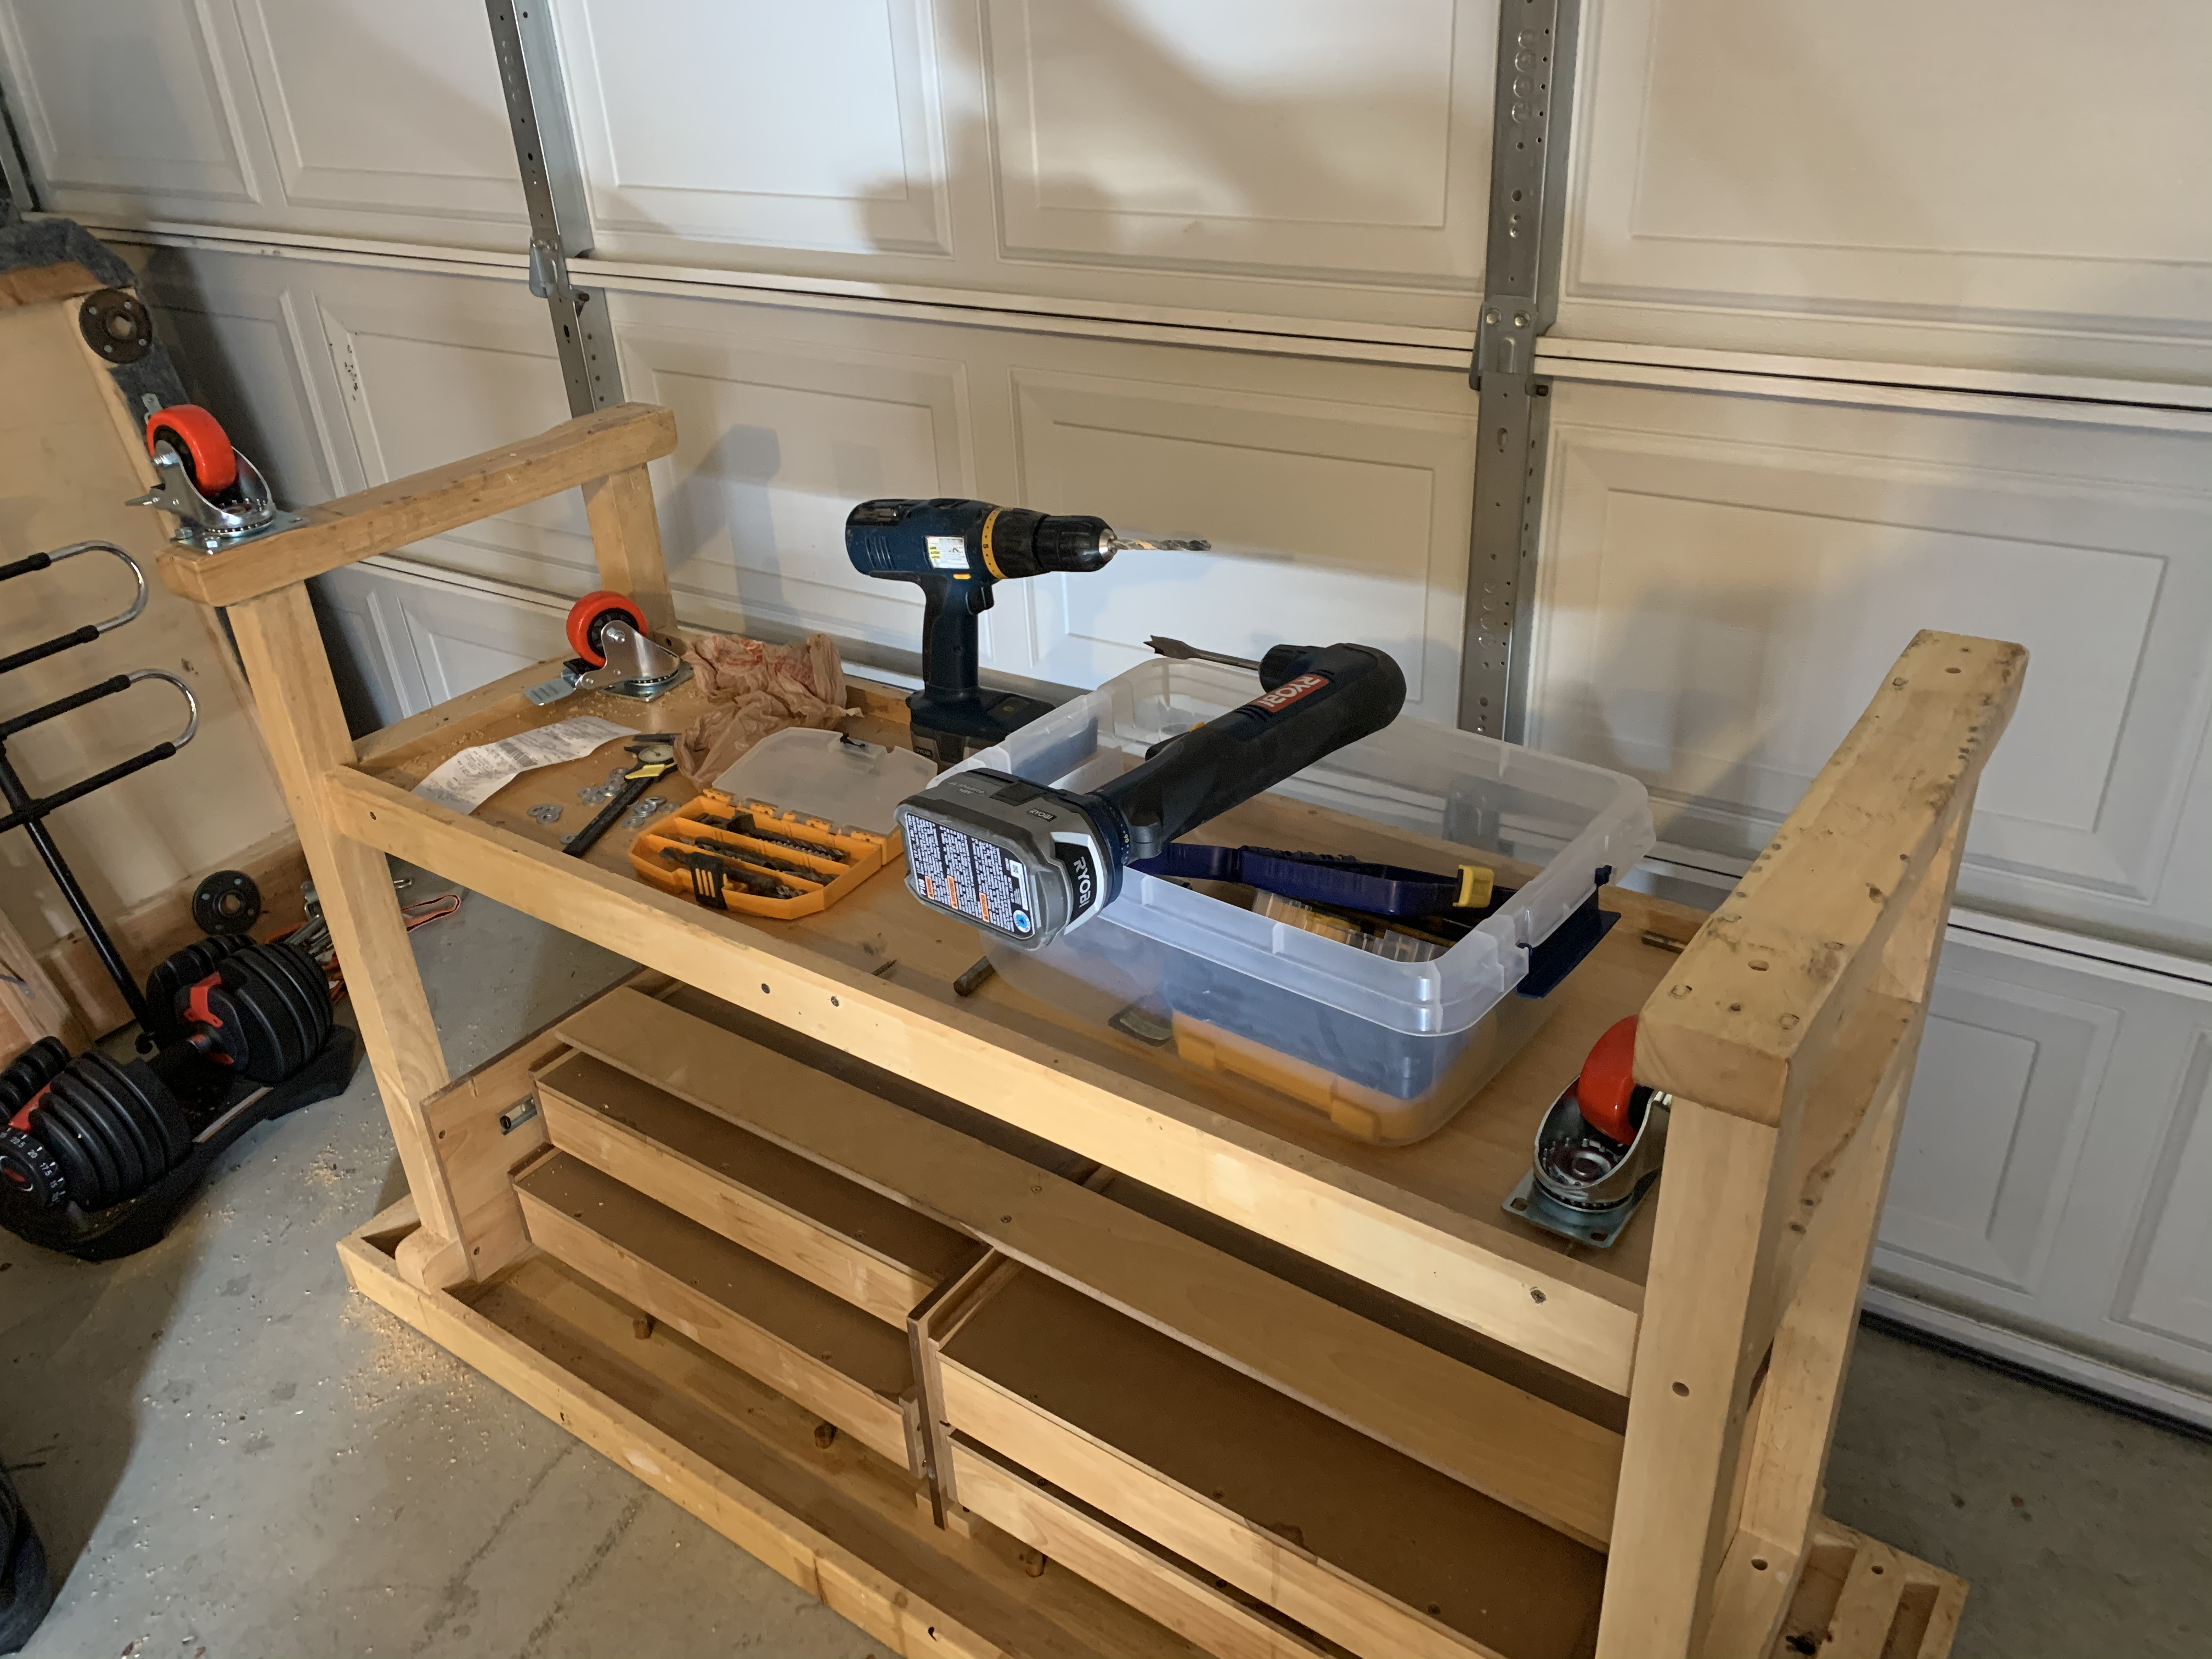
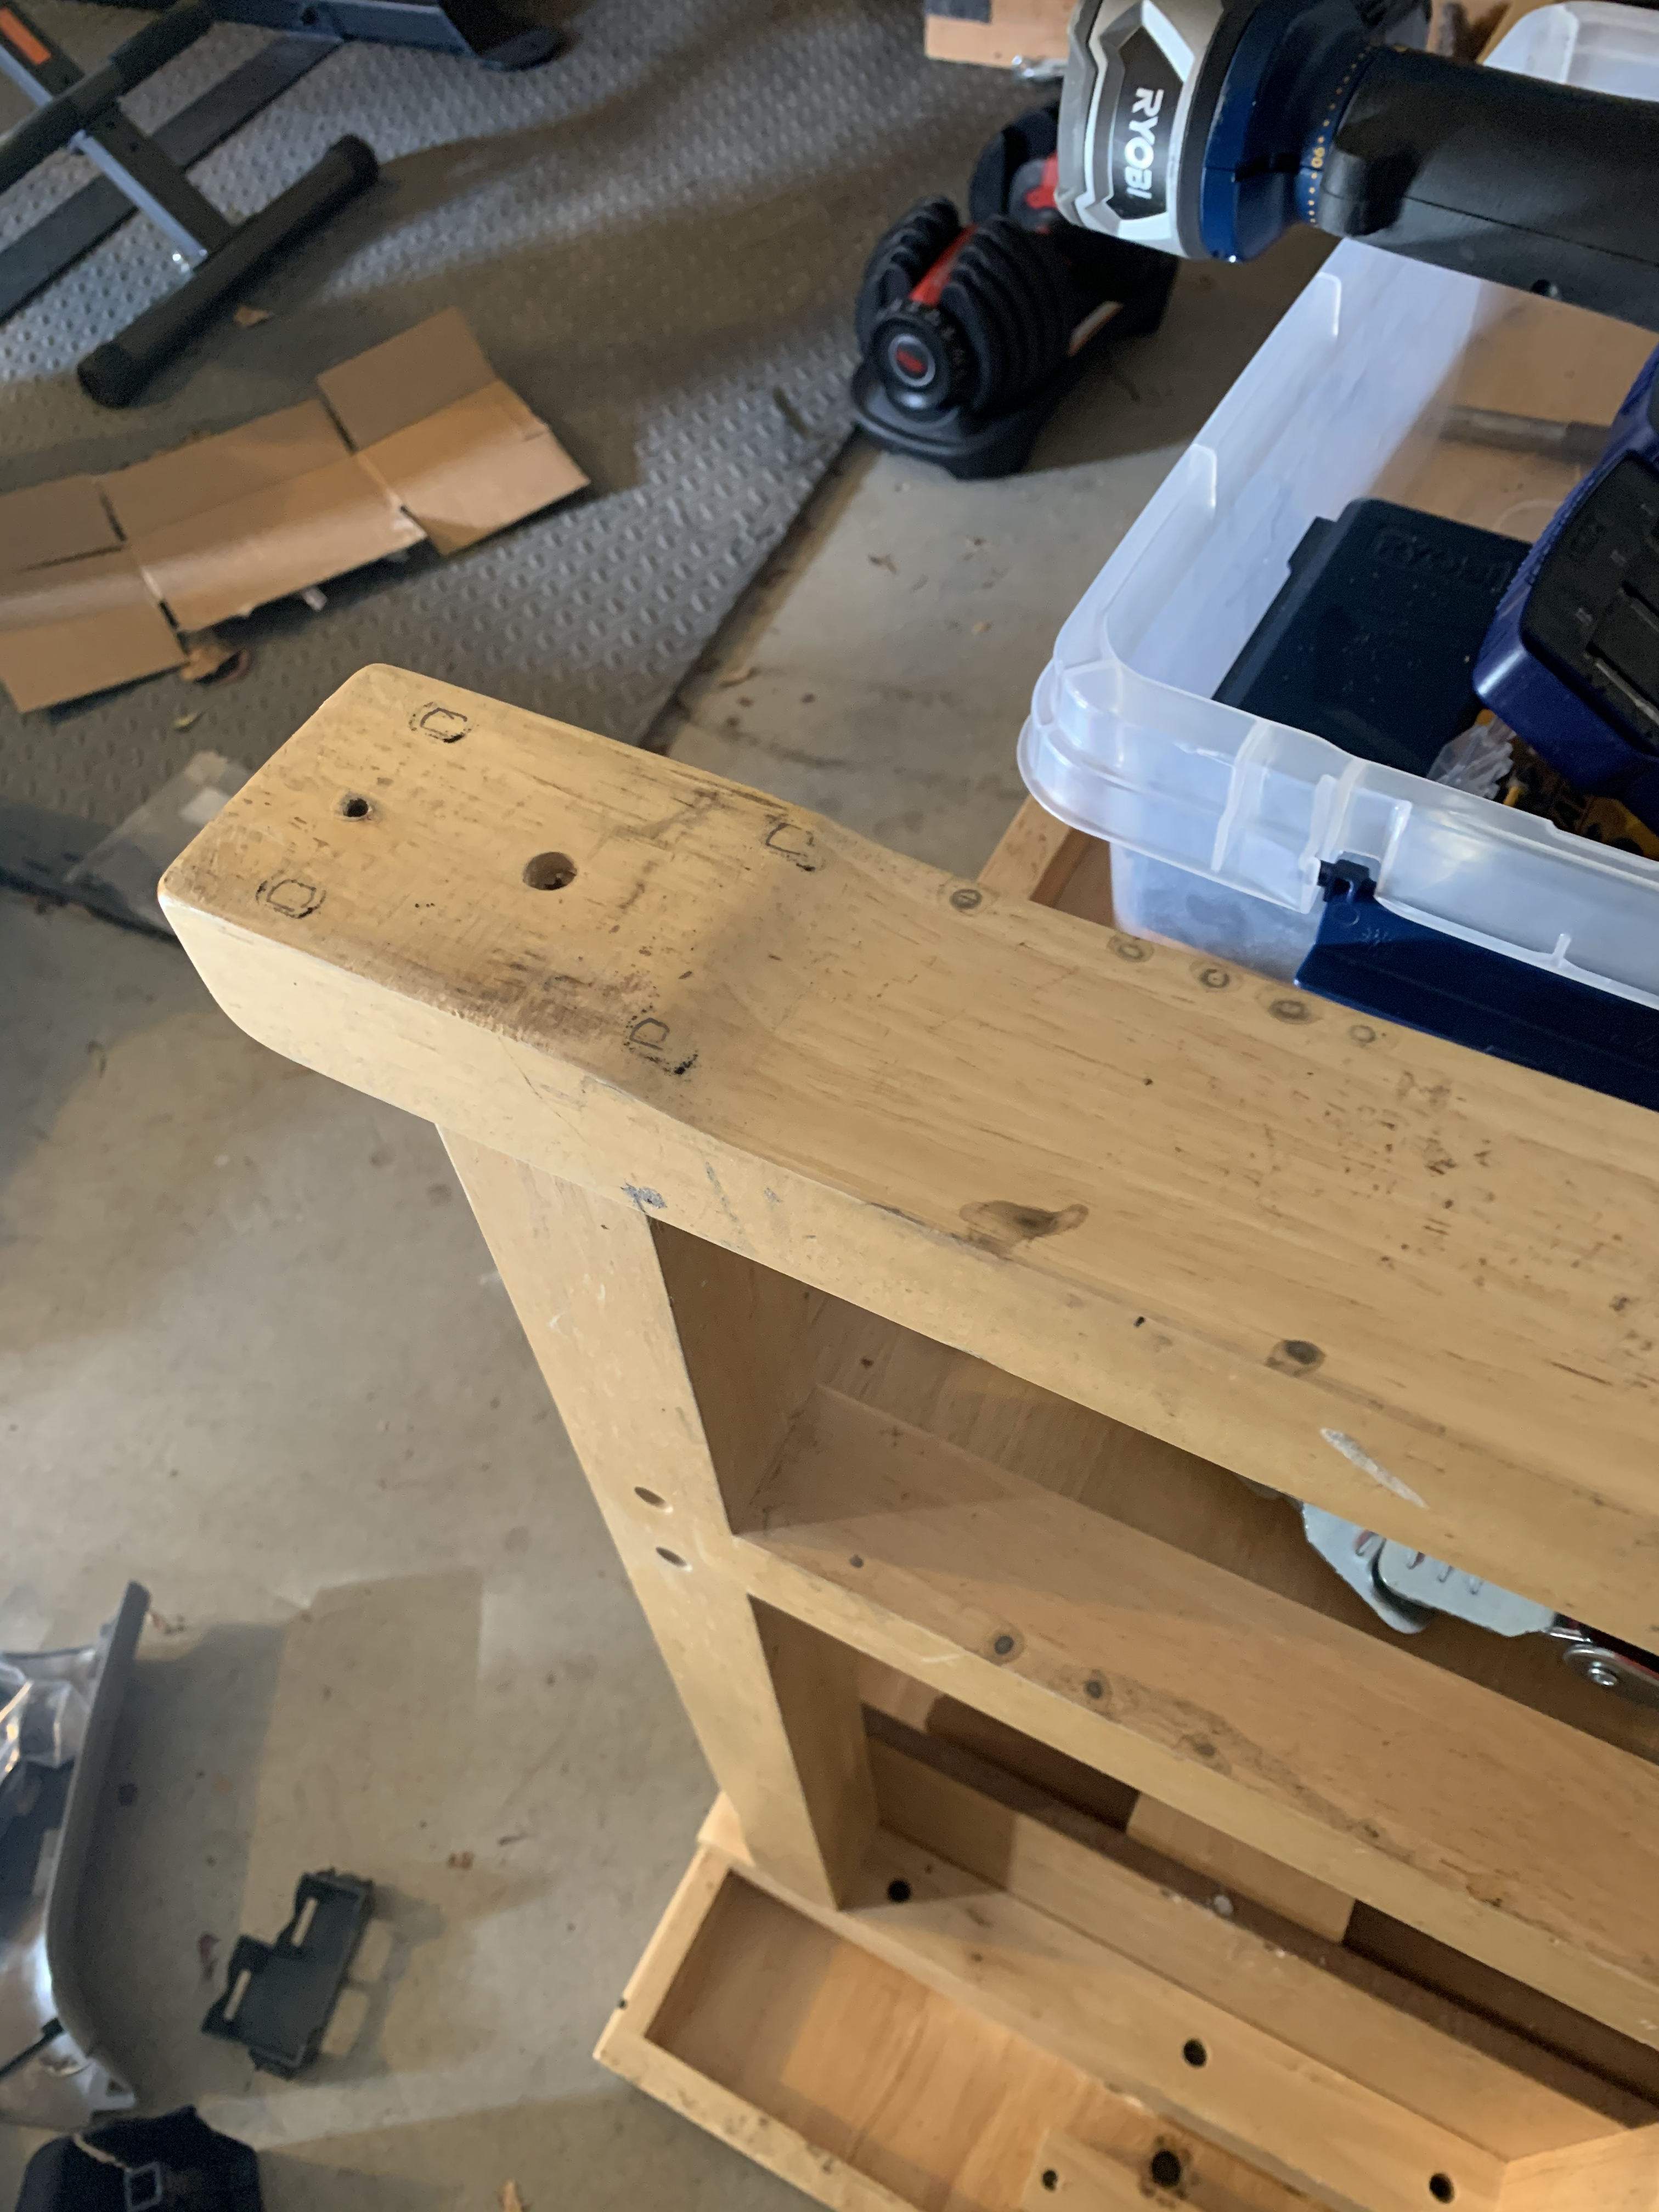
Pairs of legs were connected at the base by a long foot, and the casters would go on the ends. Here you can see that I traced the holes in the casters onto the workbench foot. Notice the how the foot it thicker on the outside ends and thinner inside, between the legs. A pair of holes would go on this taper, and that made drilling plum a bit tricky.
What was more tricky was the thickness of the foot. It was about 2.0 inches thick and my bolts where only slightly longer. The caster’s plate made the bolts barely long enough for the nuts to get a bite on the bolt threads. This meant that I had to figure out a way to countersink the bolts just a little. I had a 5/8 inch bit that I used to create a countersink for the bolts on the outside of the legs. It was an imperfect method, but it works alright.
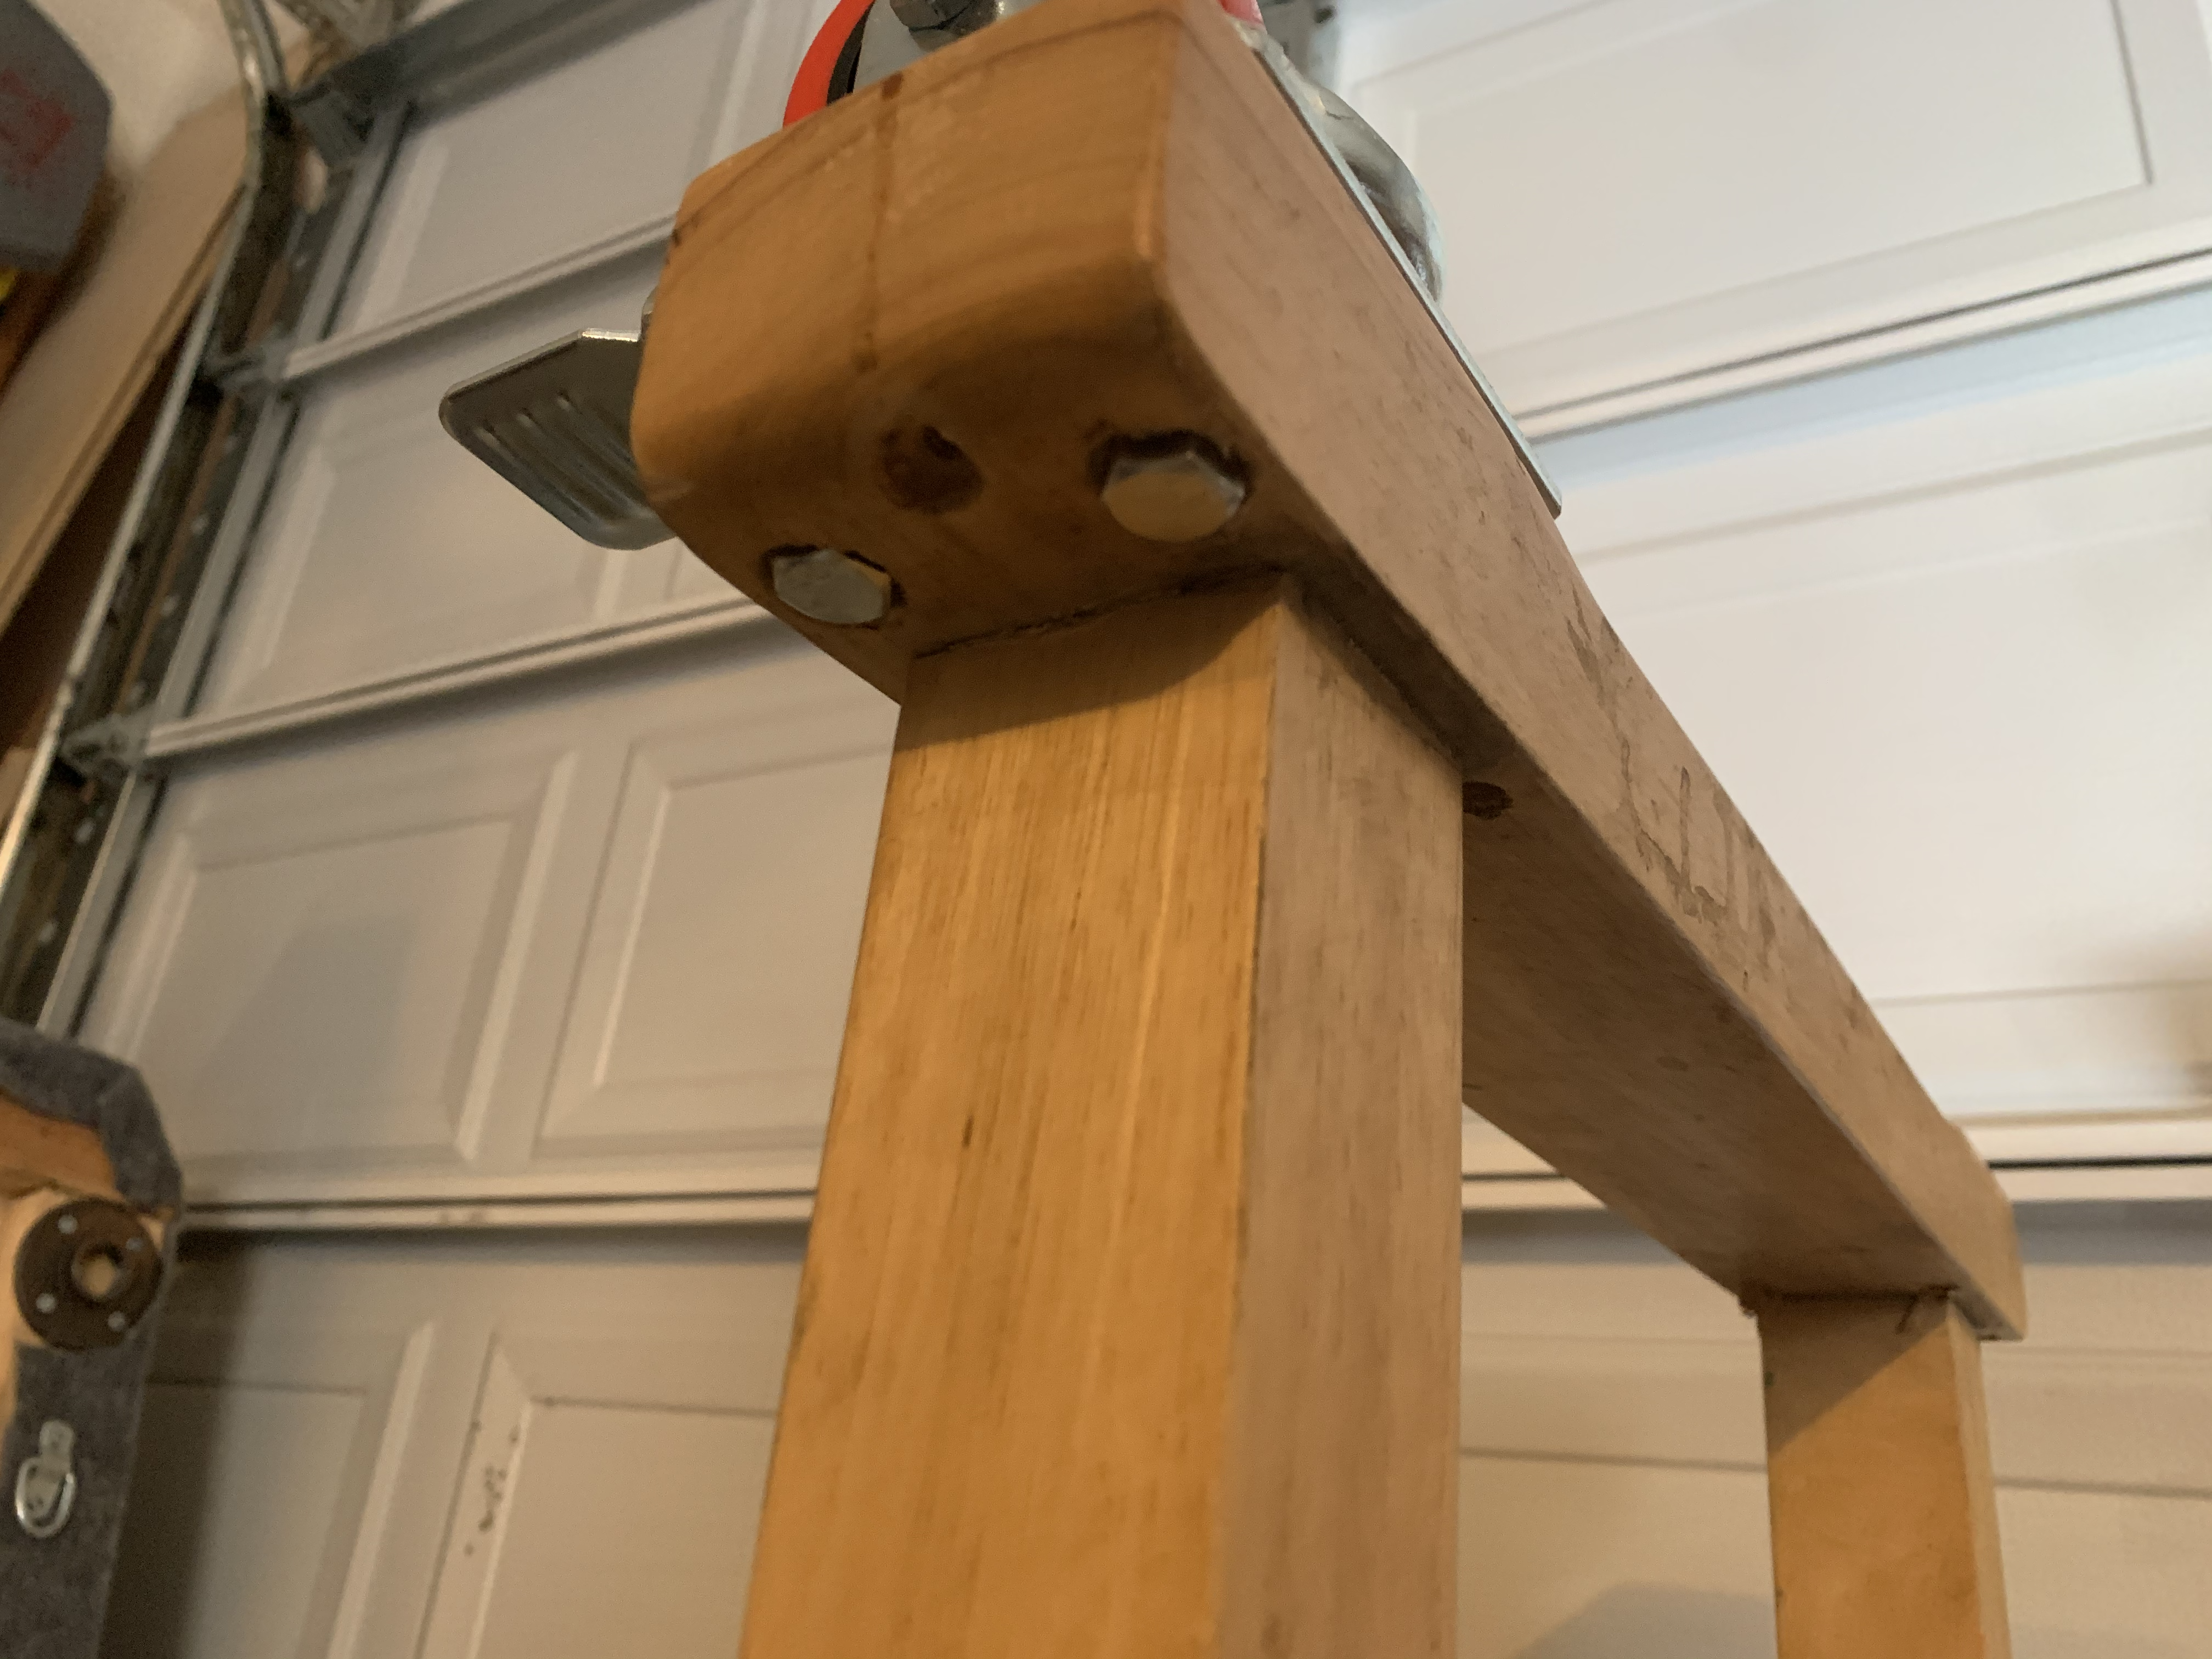
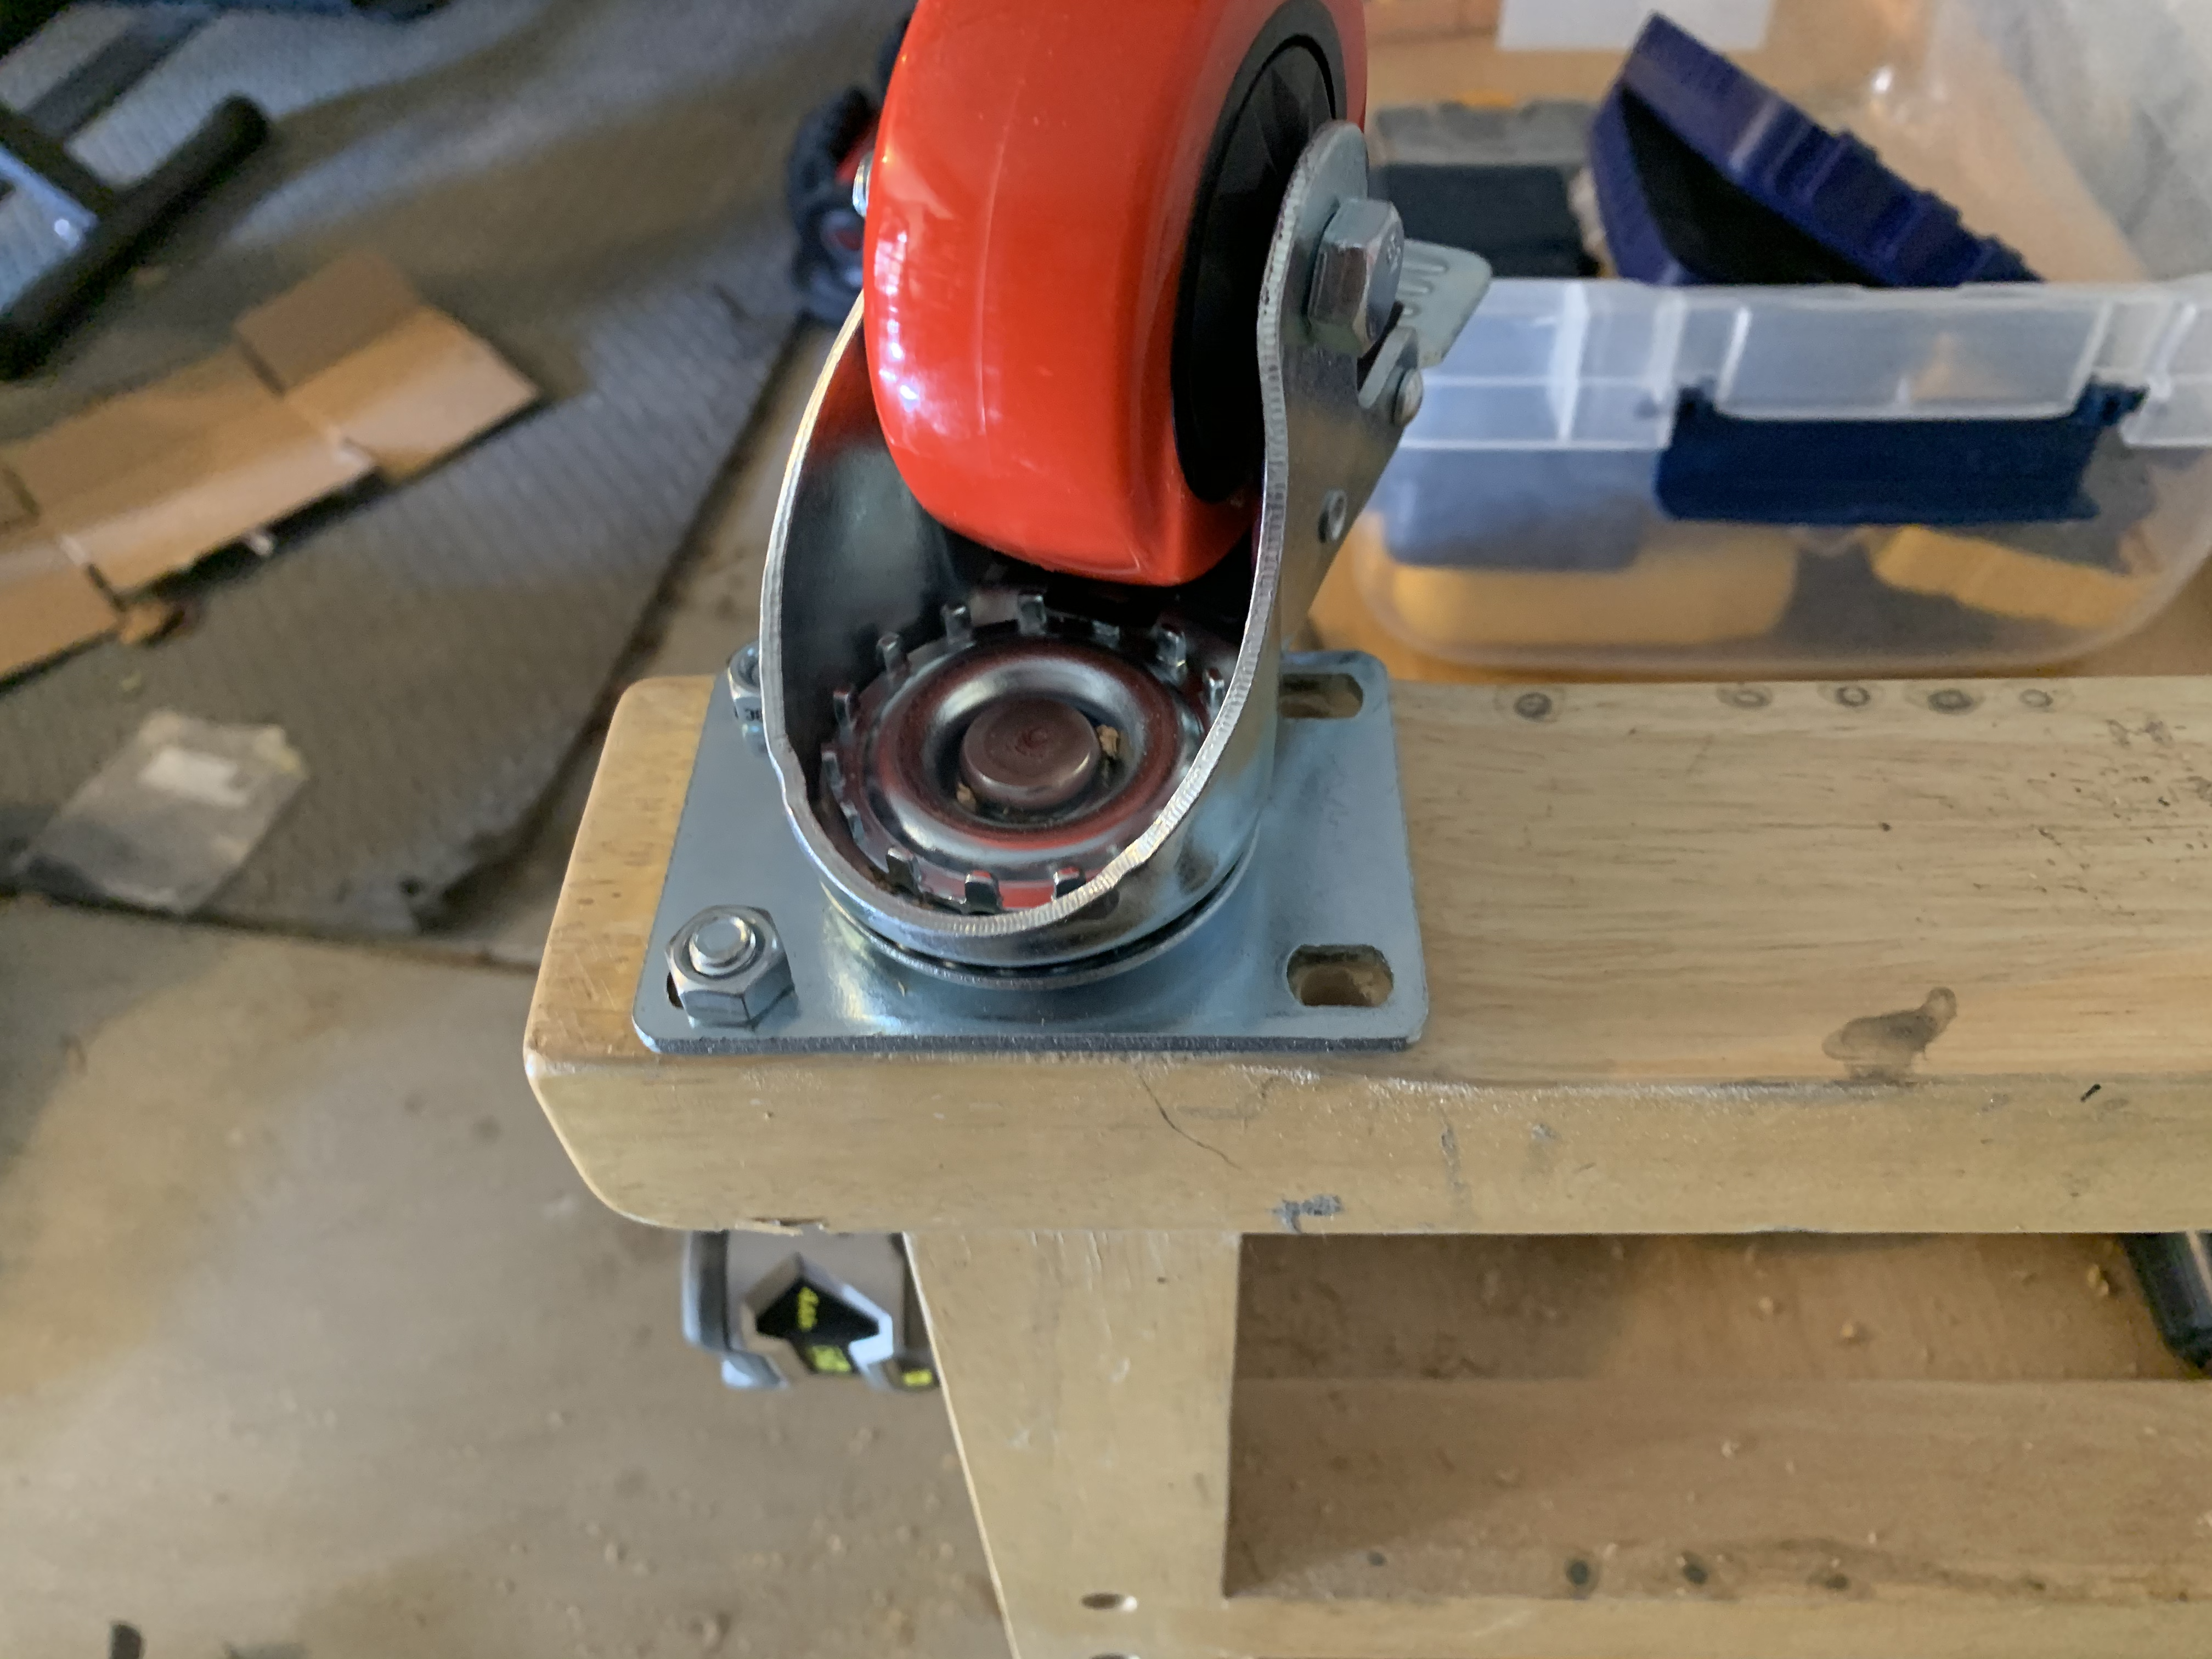
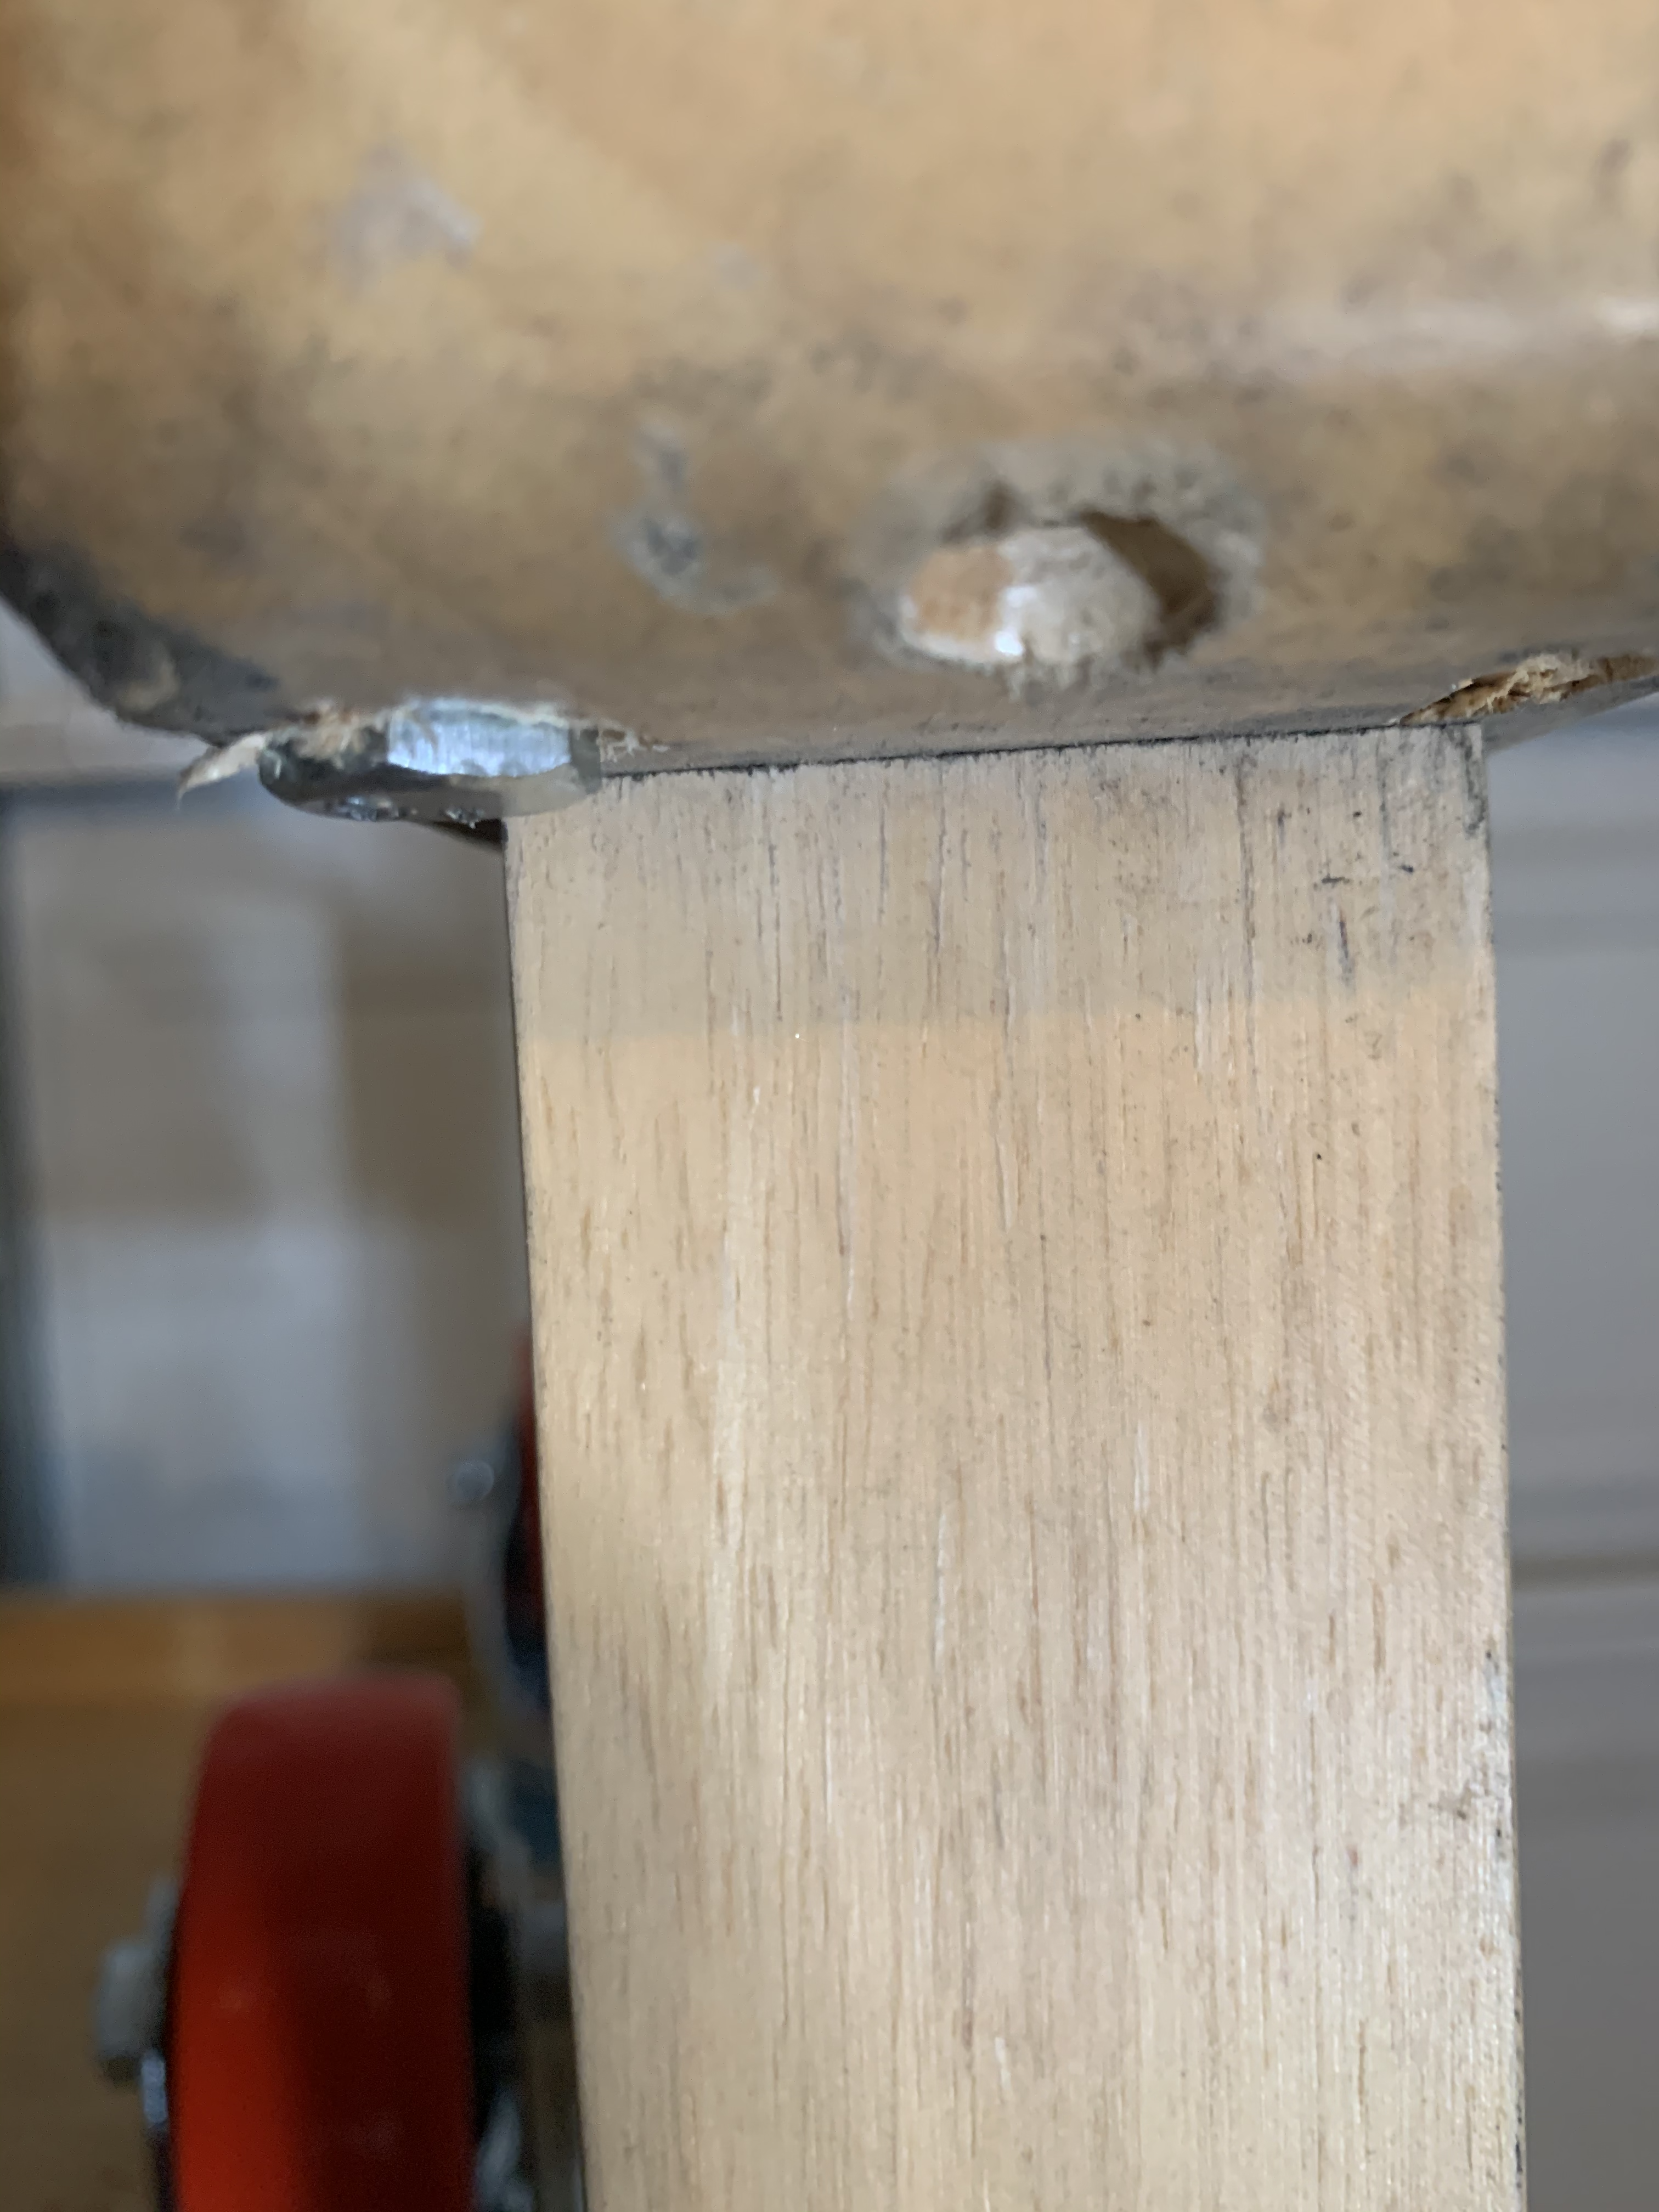
There wasn’t enough space for me to countersing the bolt in the same fashion on the inside of the foot. I ordered a short spade bit that should do the trick. In the meantime, I fastened each caster with two of the four bolts, and they seem solid enough for me.
Organizers
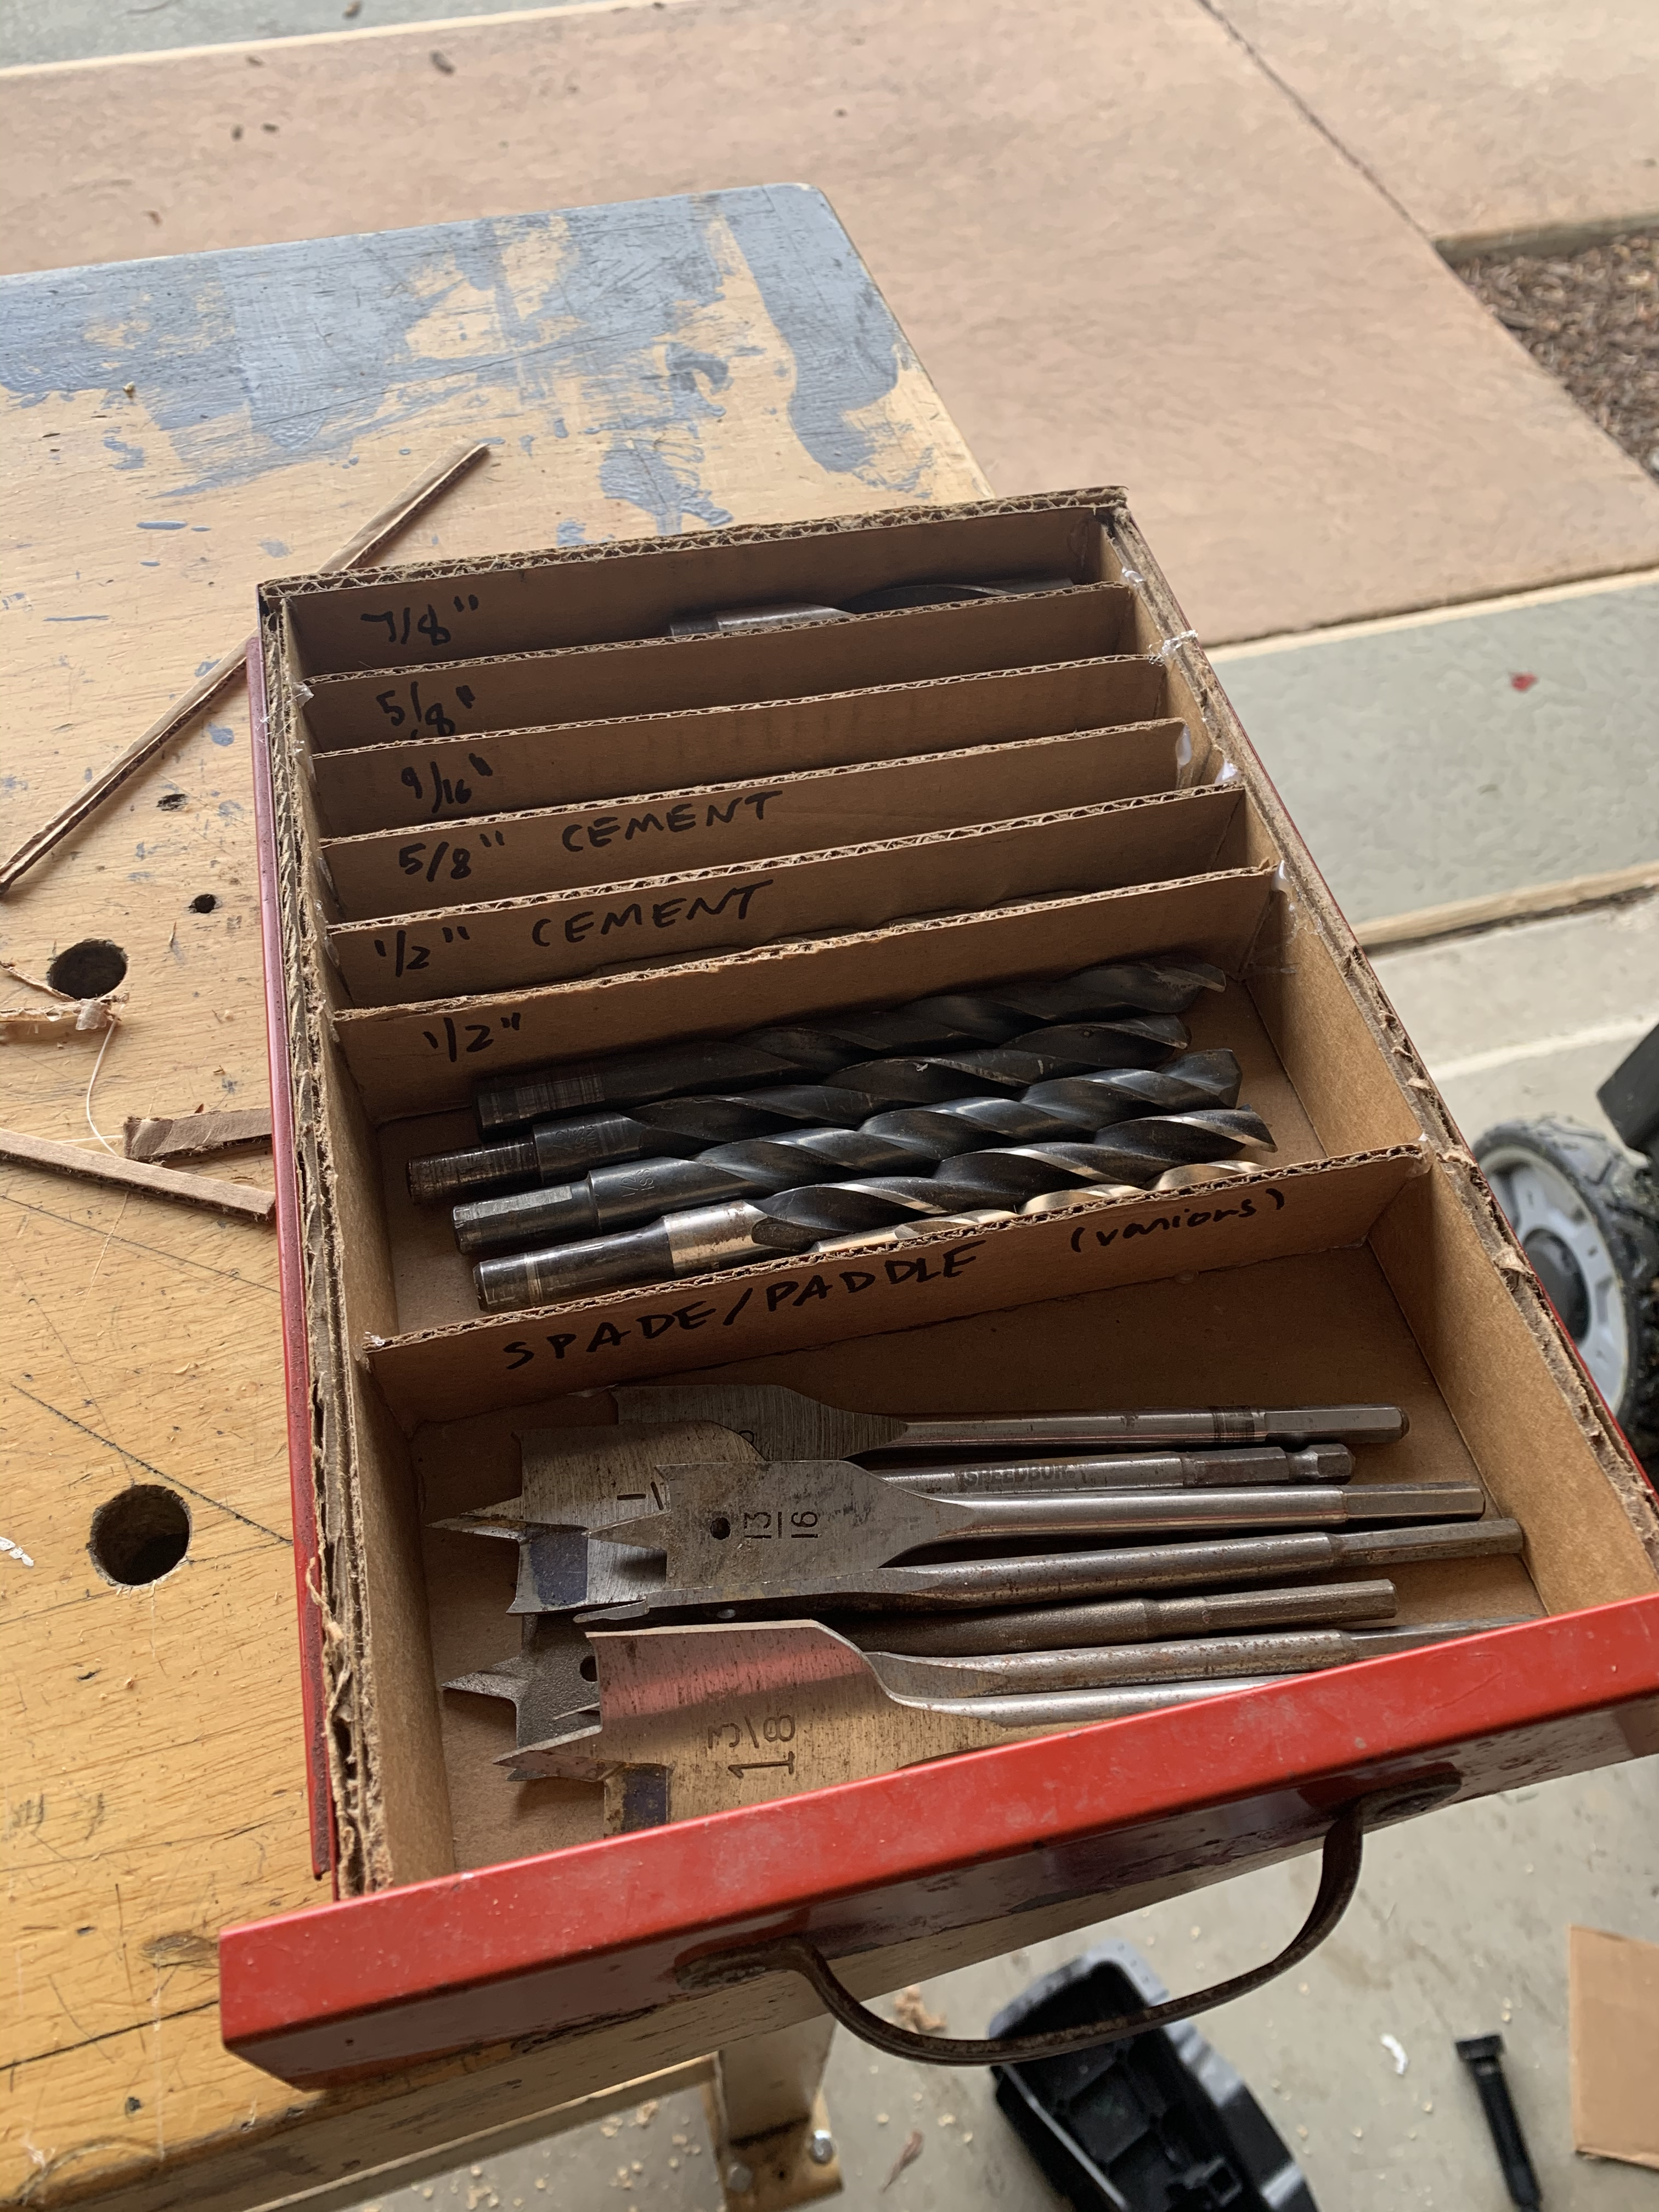
I copied Savage’s approach to making an organizer for a tool drawer using hot glue. Instead of using coroplast, I used scrap cardboard we had in the garage. The workbench’s four drawers (13” x 21”) were new to my space, so I could be creative in how I used them. I chose to use the drawers for
- screwdrivers,
- bike tools,
- alan wrenches, and
- drill bits.
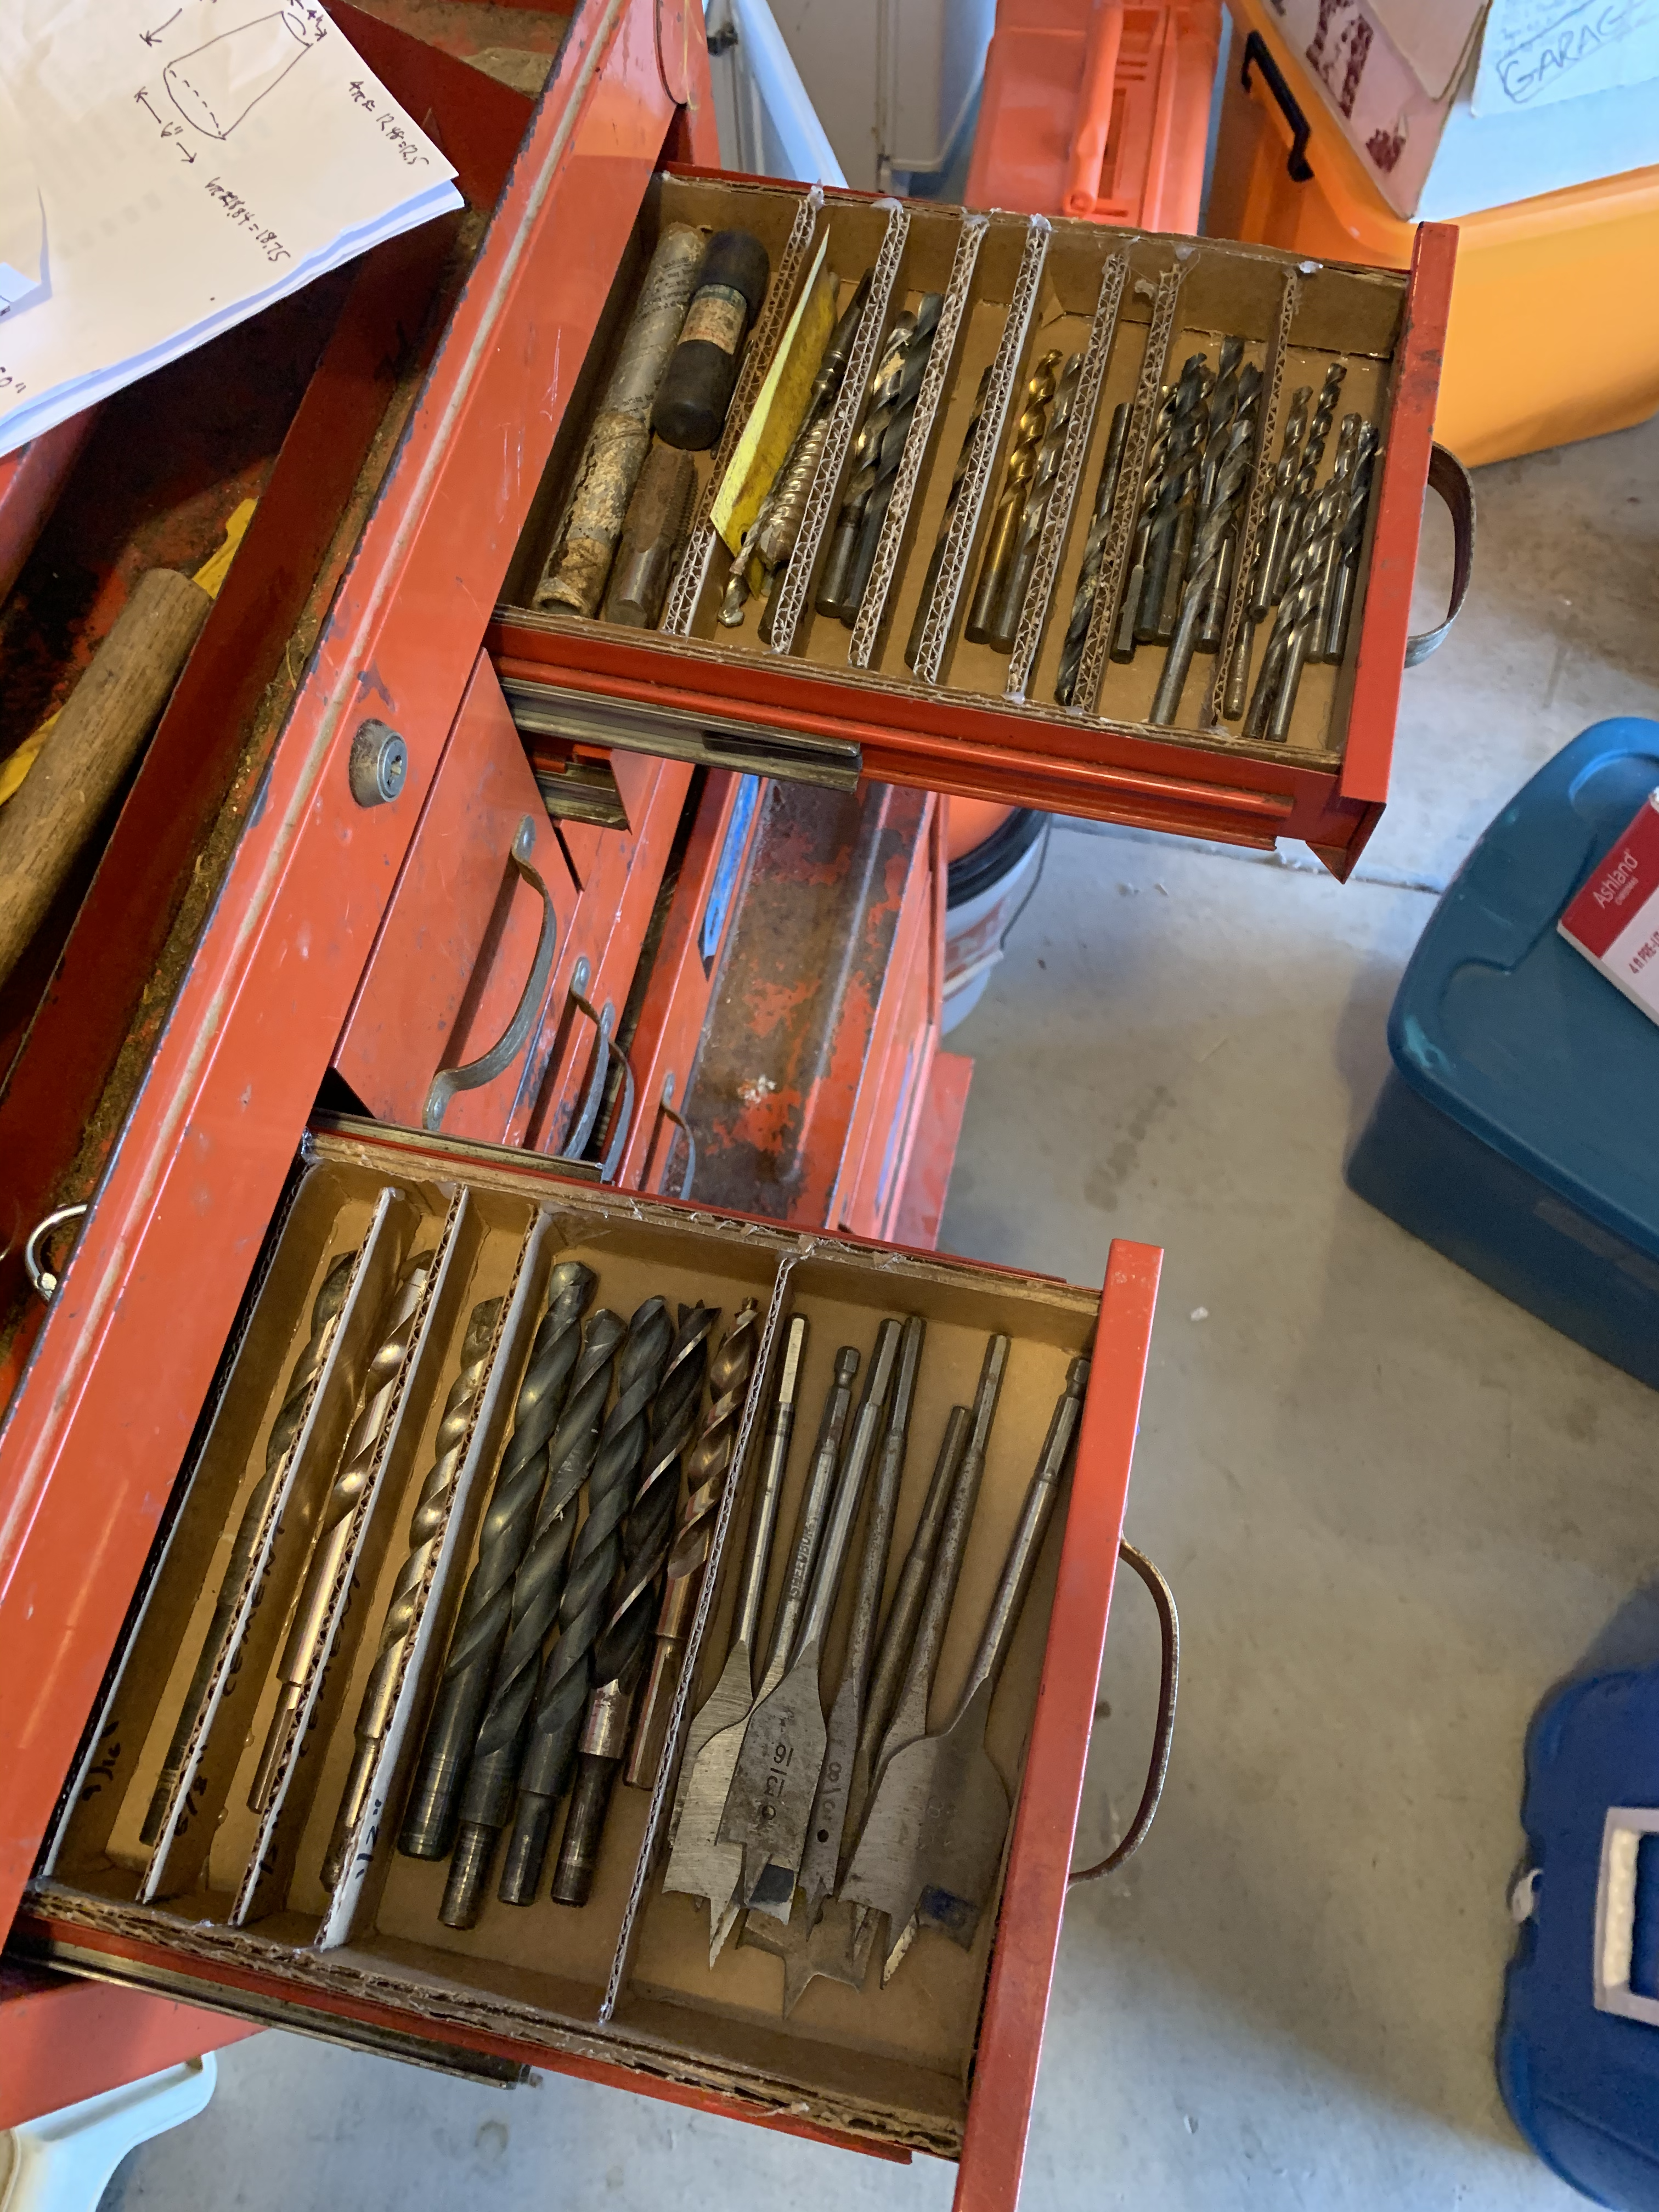
I built organizers for these and they filled three drawers. There were enough drill bits that the workbench drawer was filled by plastic cases of bit and driver sets, and then two small drawers in my tool chest tool a colection of loose bits organized using hot glue and cardboard, too. Pics below. The last drawer I left for electrics like my multimeters, testers, and such. I wasn’t ready to make an organizer for those, yet.
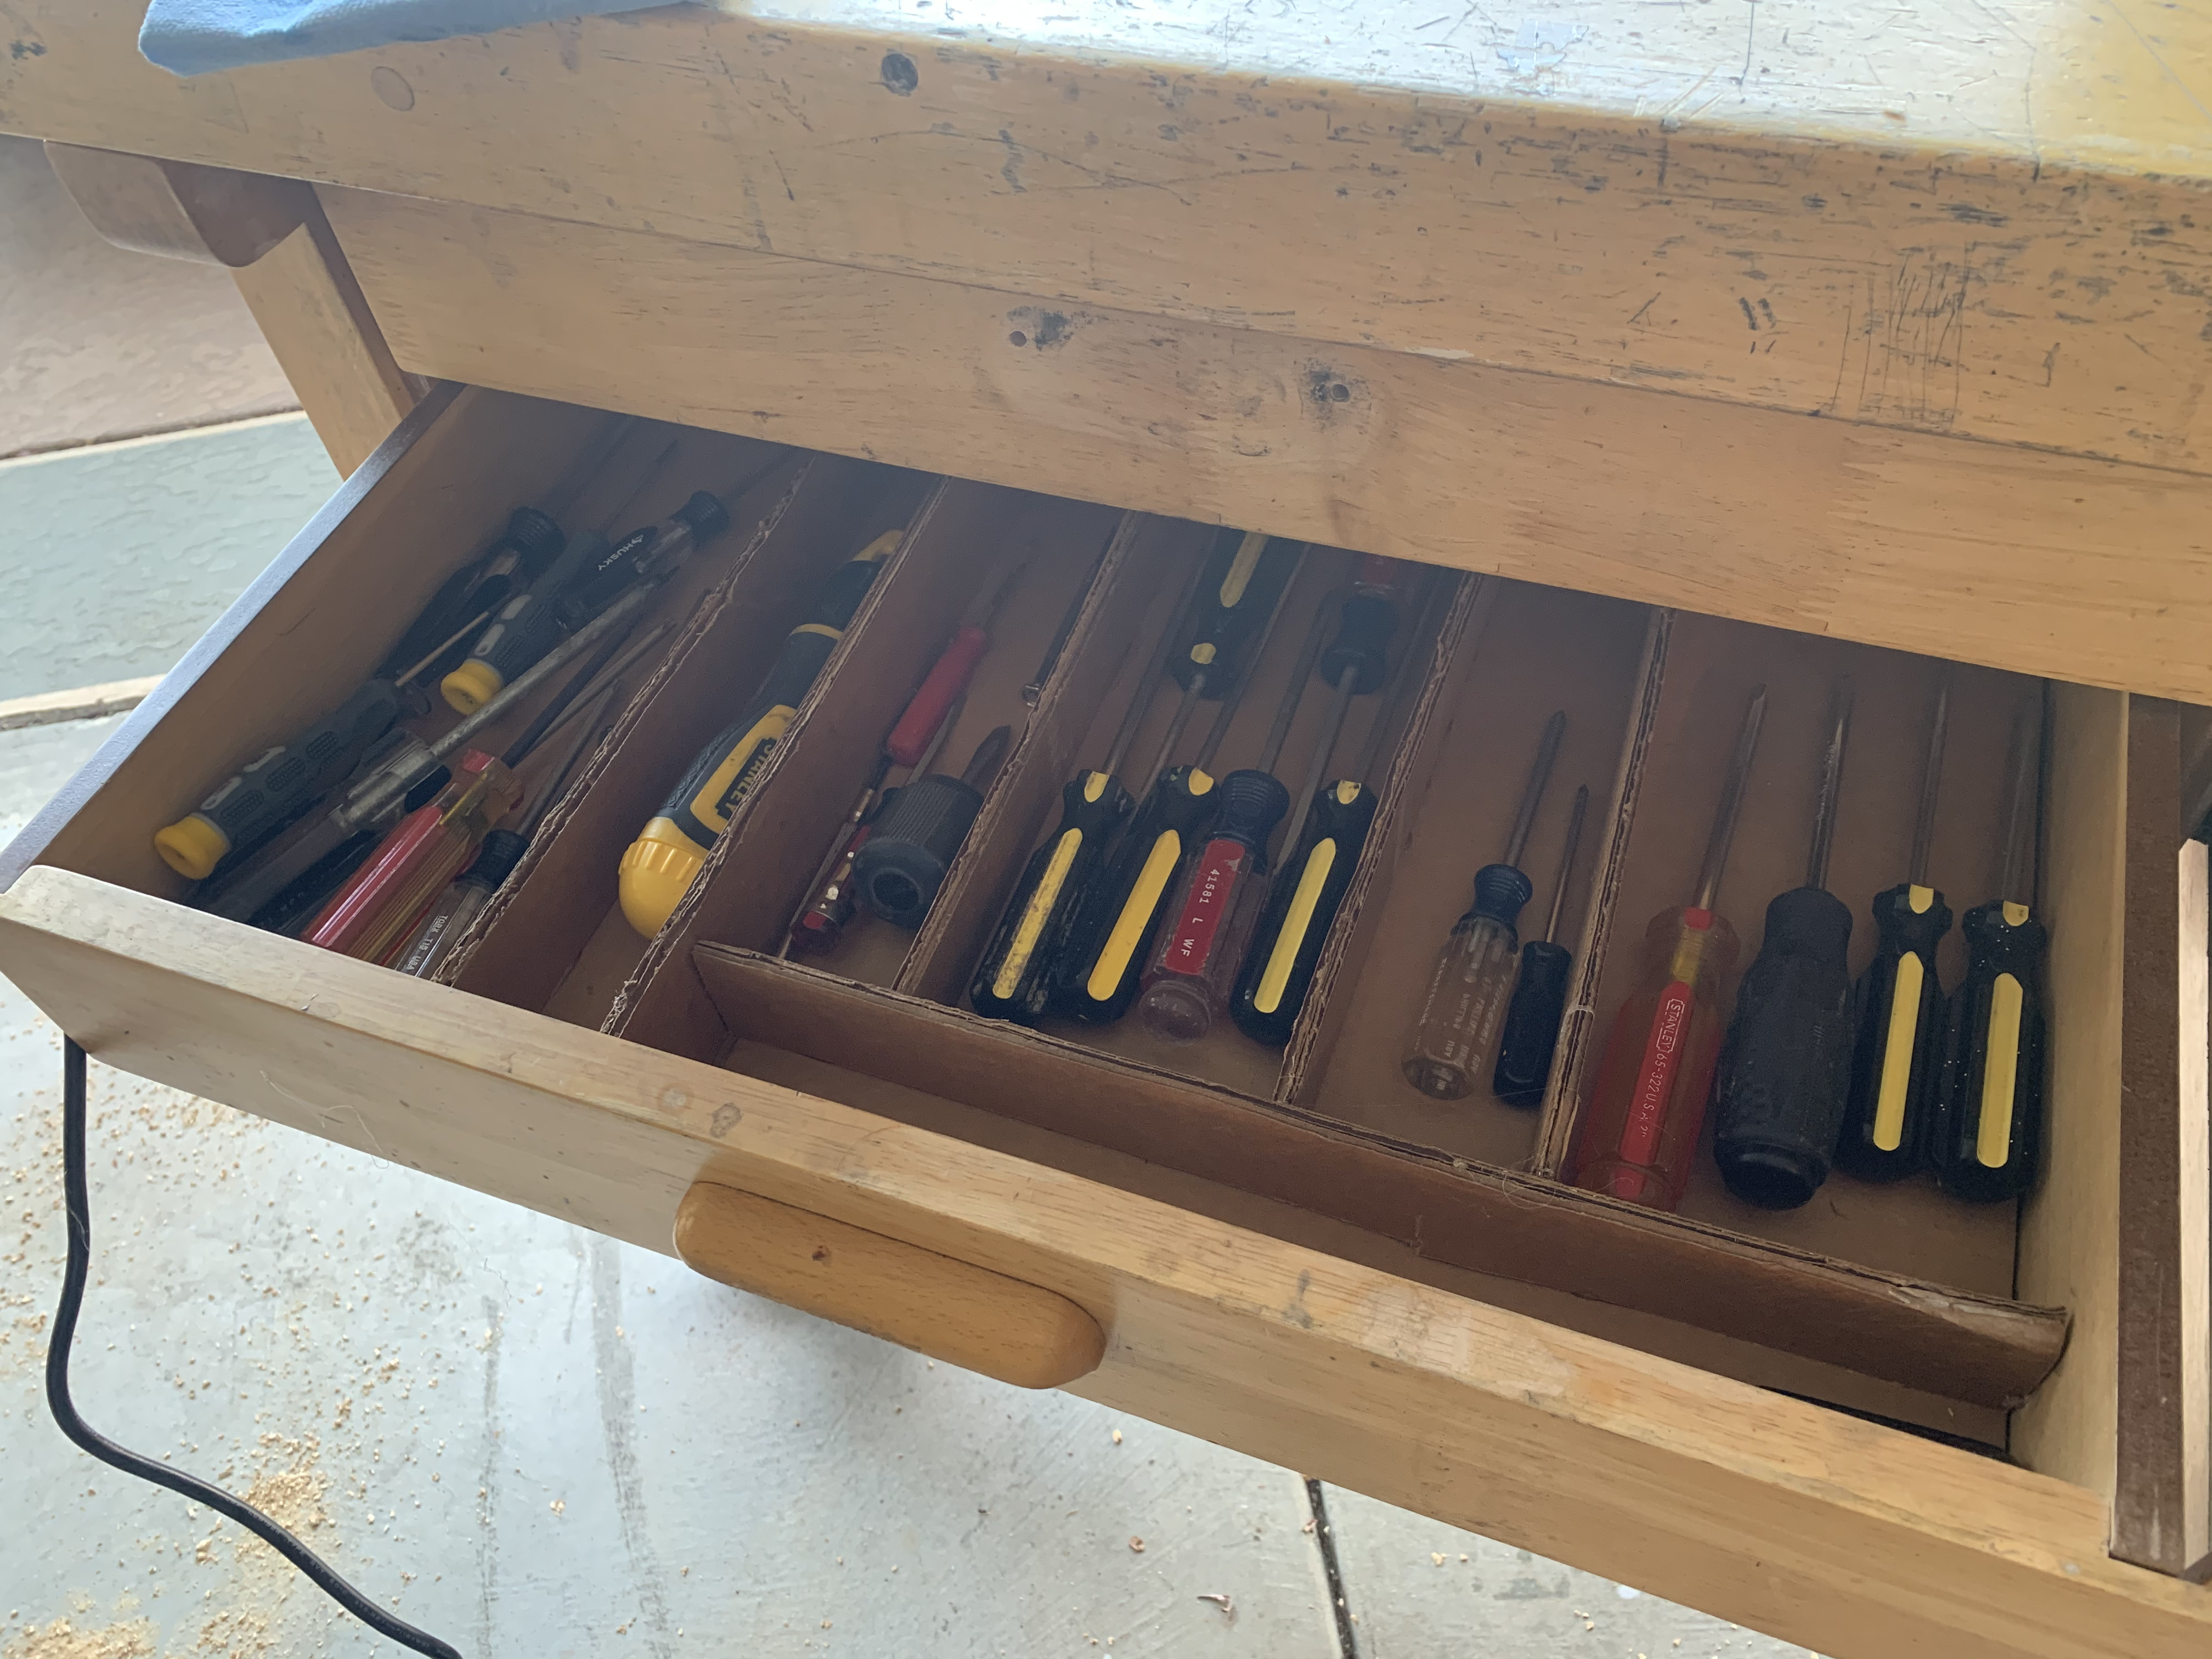
Once all that was done, I grabbed a black sharpie and some blue painter’s tape to label each drawer (unpictured) so family members could locate tools and return them to their new homes.
-
I’d search google and eBay for this glue gun before, and I’d always find the thing for $110+. Then the other day, I did a search for a SureBonder glue gun and found a glue gun that looked exactly the same but was branded as SureBonder and not FassenMesser, and it was About $20 cheaper. That was enough to get me to that gun and glue, both high temp and low temp. When the SureBonder gun arrived it was branded as a FassenMesser. ↩