Fixing the LC's Rear Hatch Latch
[land-cruiser maker The rear hatch mechanism in my LC stopped working a couple weeks ago, and I’ve been trying to fix it. This is my story.
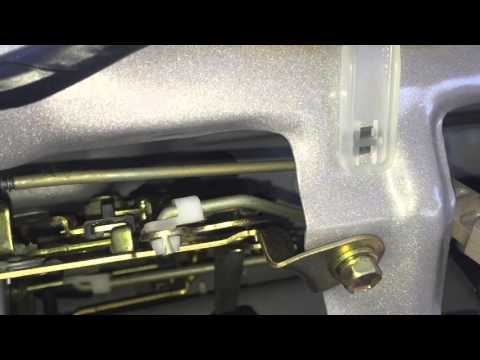
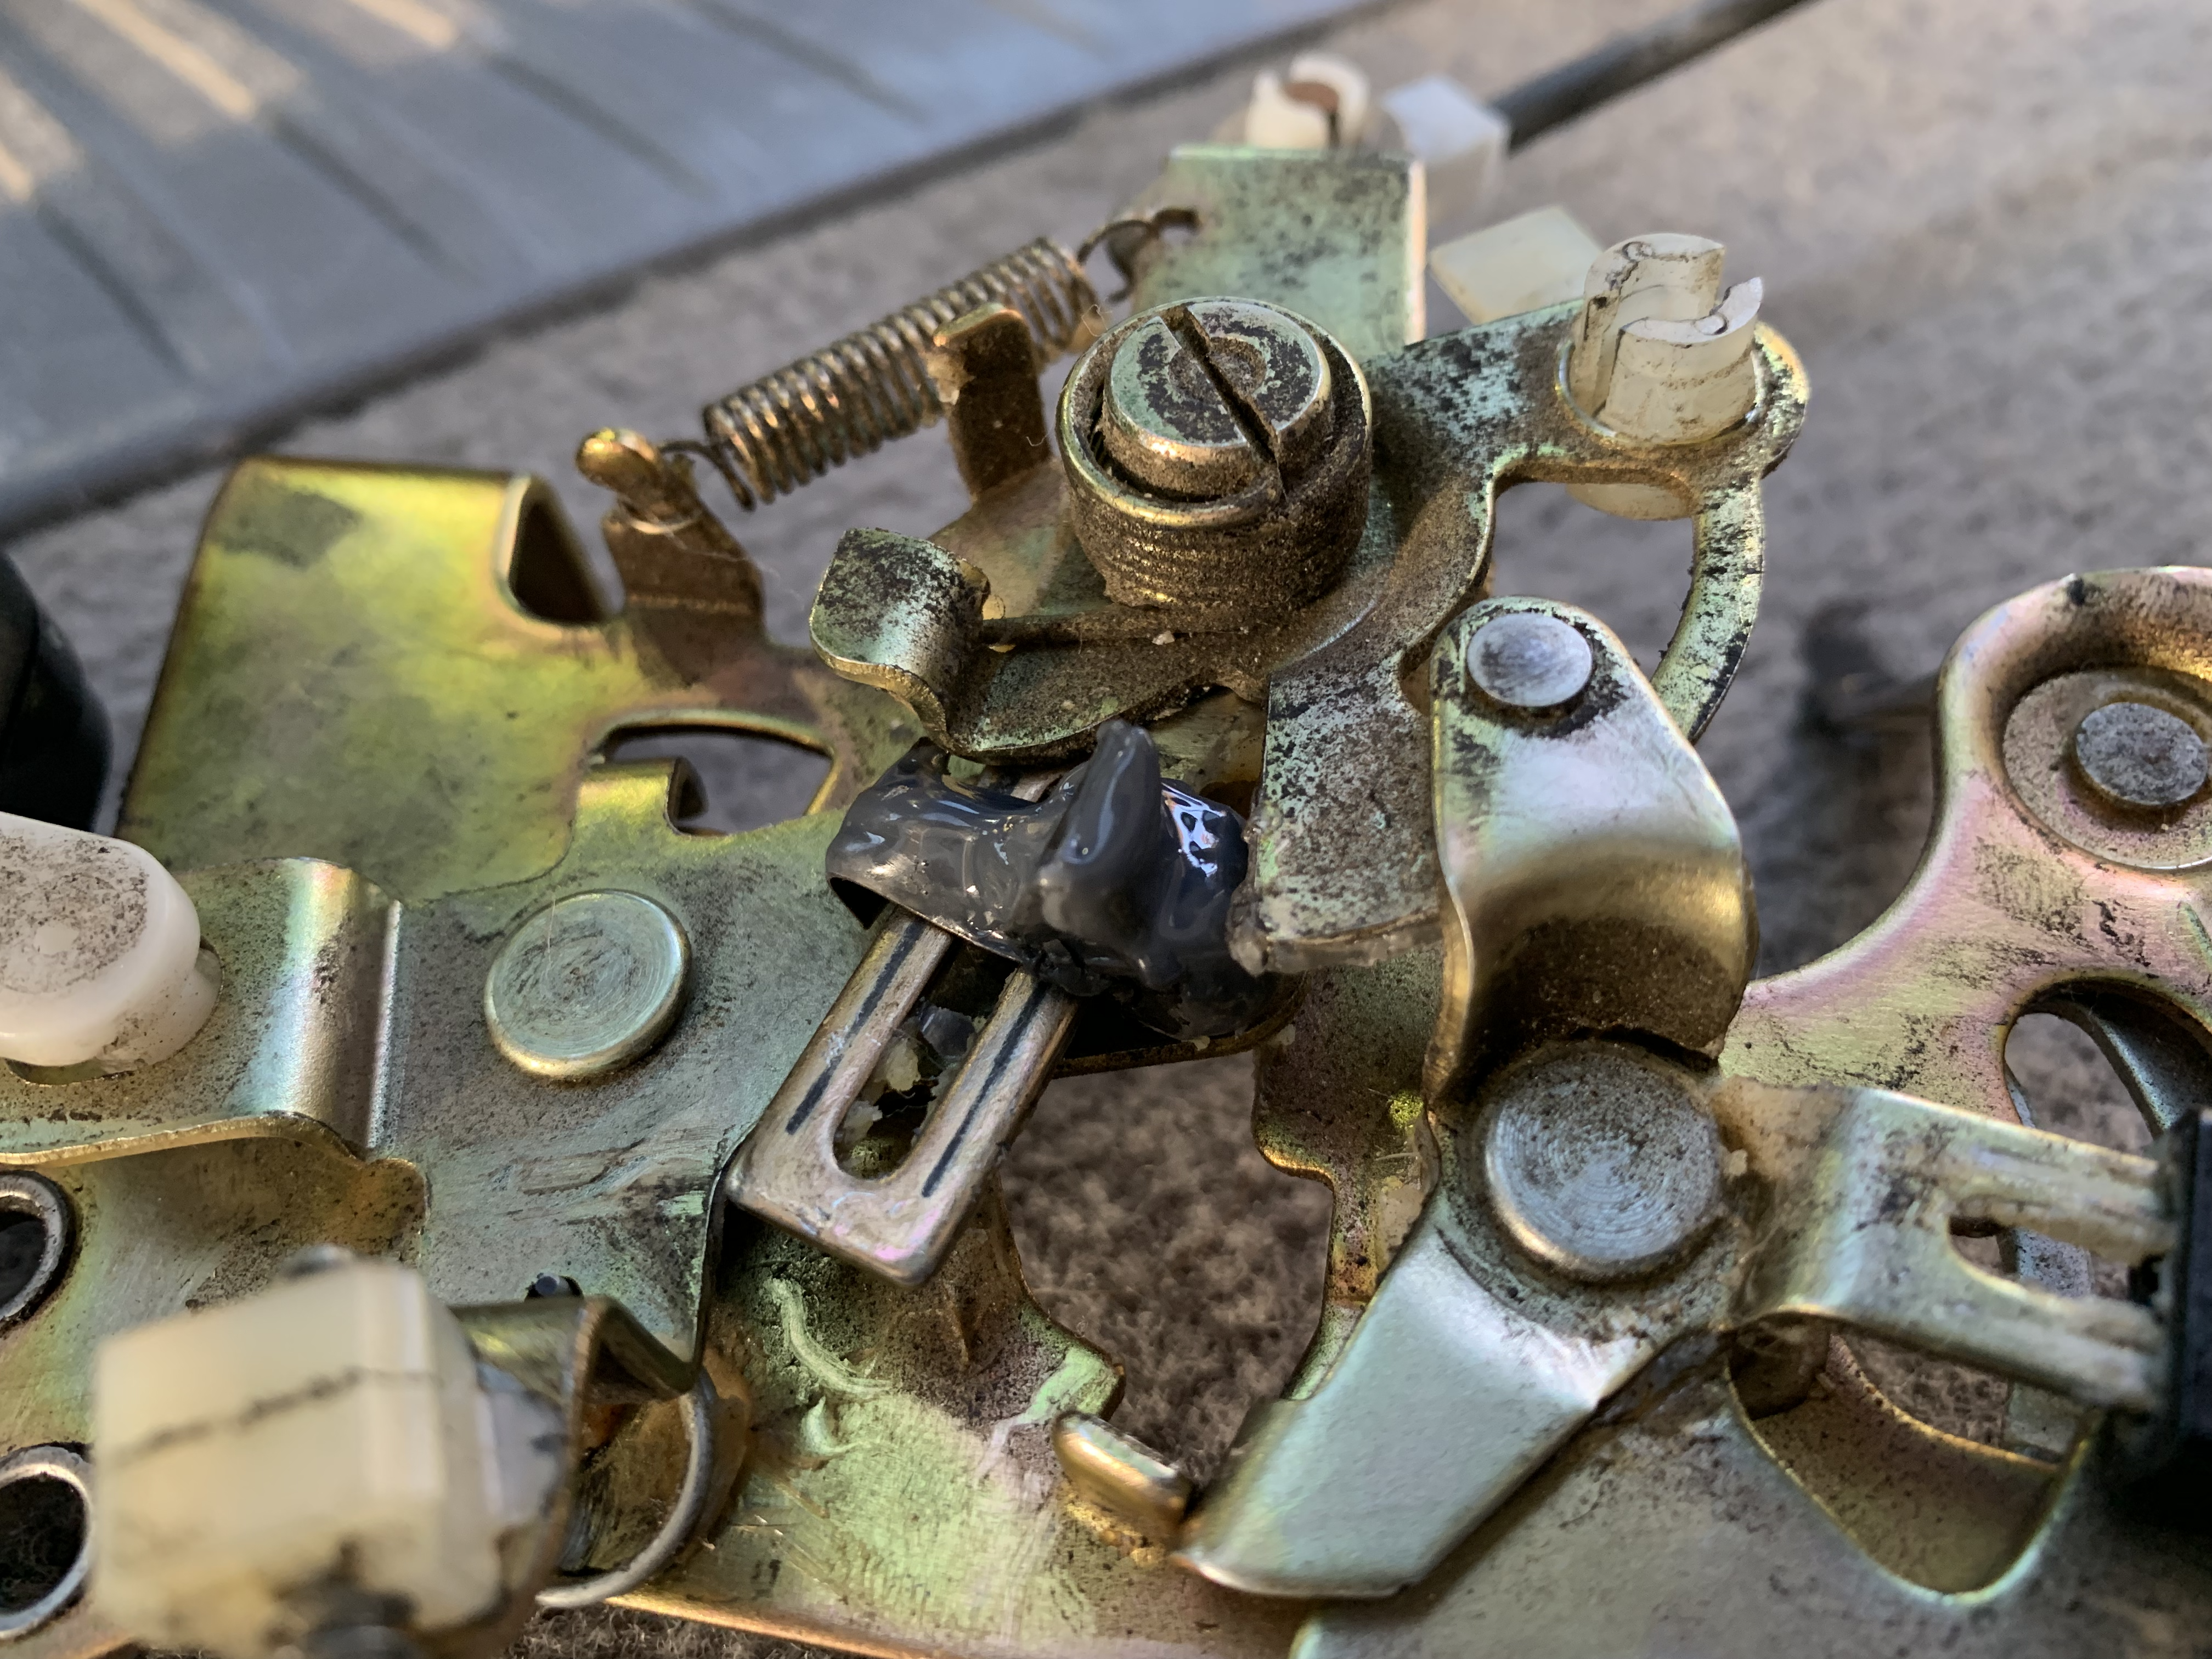
Here is a short video of how the latch mechanism works. When you watch the video, you will notice that most of the mechanism is made from metal. There are two exceptions. First, there are pieces of which plastic that connect straight rods to metal armatures that more back and forth. Second, there is a moving black piece of plastic that serves as a stike surface for an arm and that moves out of the arms way when the hatch is locked.
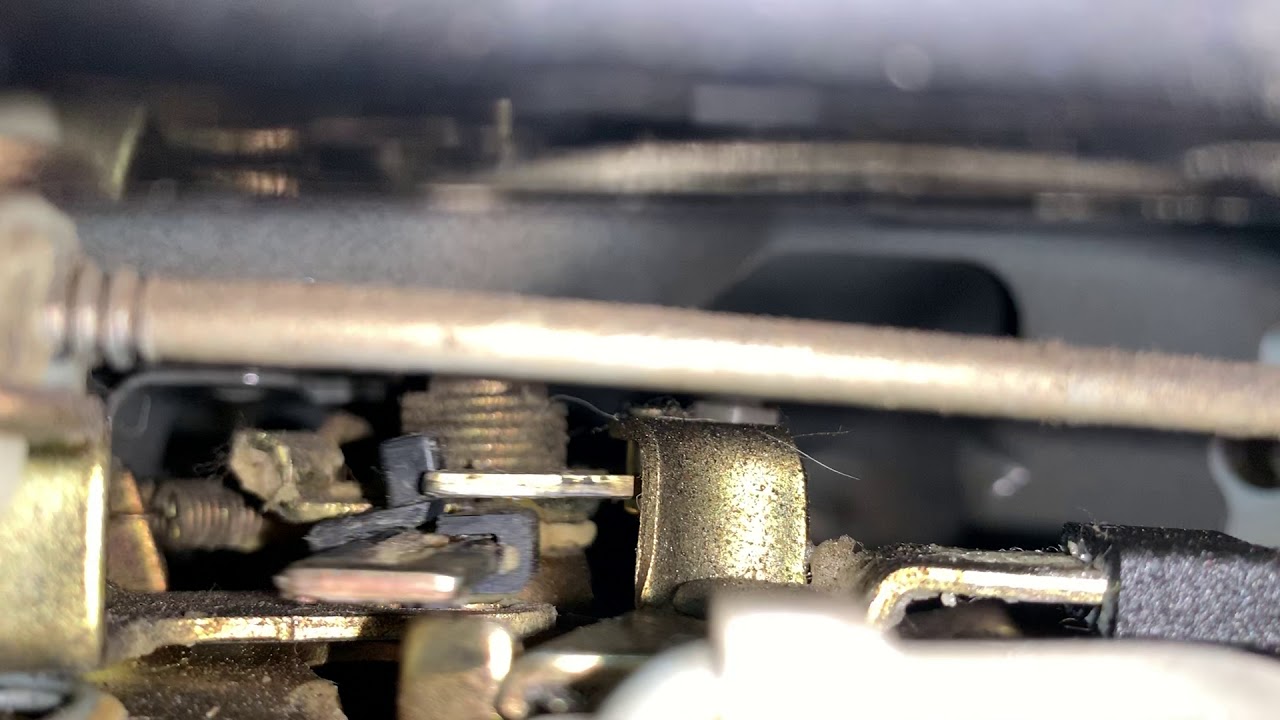
It’s the black piece of plastic that started to break. The next video shows my mechanism. Notice how the black piece of plastic has a crack in it. The crack creates the flex that absorbs some of the striking armature’s lateral motion. The small amount of absorbtion was enough to keep the latch from opening!
My work began with trying to reduce the flex in the cracked piece of black plastic.
First, I tried some superglue. Did work. The glue did not adhere to the plastic very well.
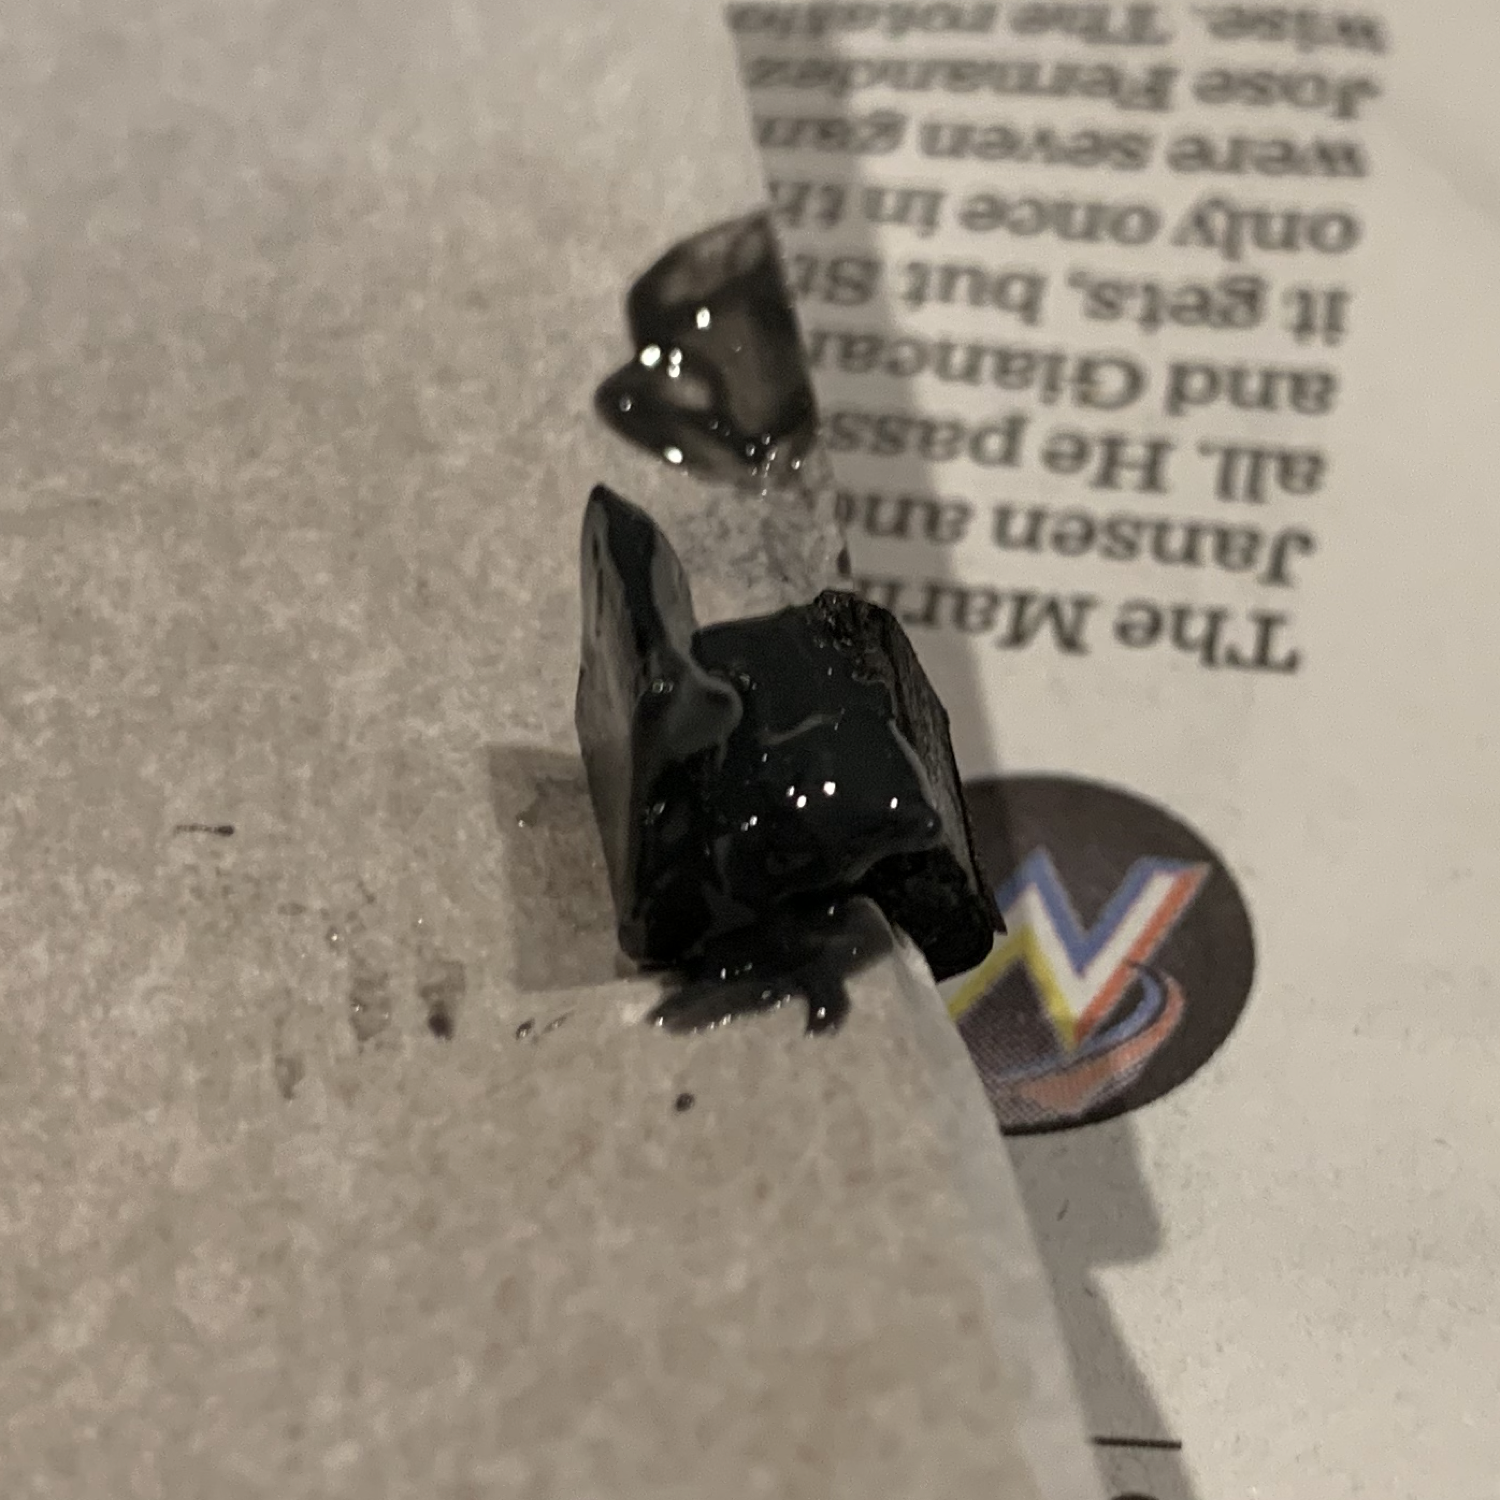
Shortly after that attempt, the piece of black plastic broke and I lost a piece of the plastic that included the top knob. So I took the latching mechanism out of the hatch (which involved removing three nuts and easily detatching several of the control rods from their plastic joints) and started the task of creating an alternative knob with metal and epoxy. (Note: I’ve never done anything like this before, and I have very little skill in working with epoxy.)
After a couple attempts with scrap metal I had in junk boxes, I chose to work with metal from binder clips. The metal cuts easily with snips, is already bent, and is stiff.

I snipped a piece of metal with a (mostly) right angle that I could attach to the remaining piece of plastic with epoxy, like this. These pics show how the metal forms a striking surface in the same way the knob at the top of the original piece did. I build it up a litle with epoxy for cohesive strength.
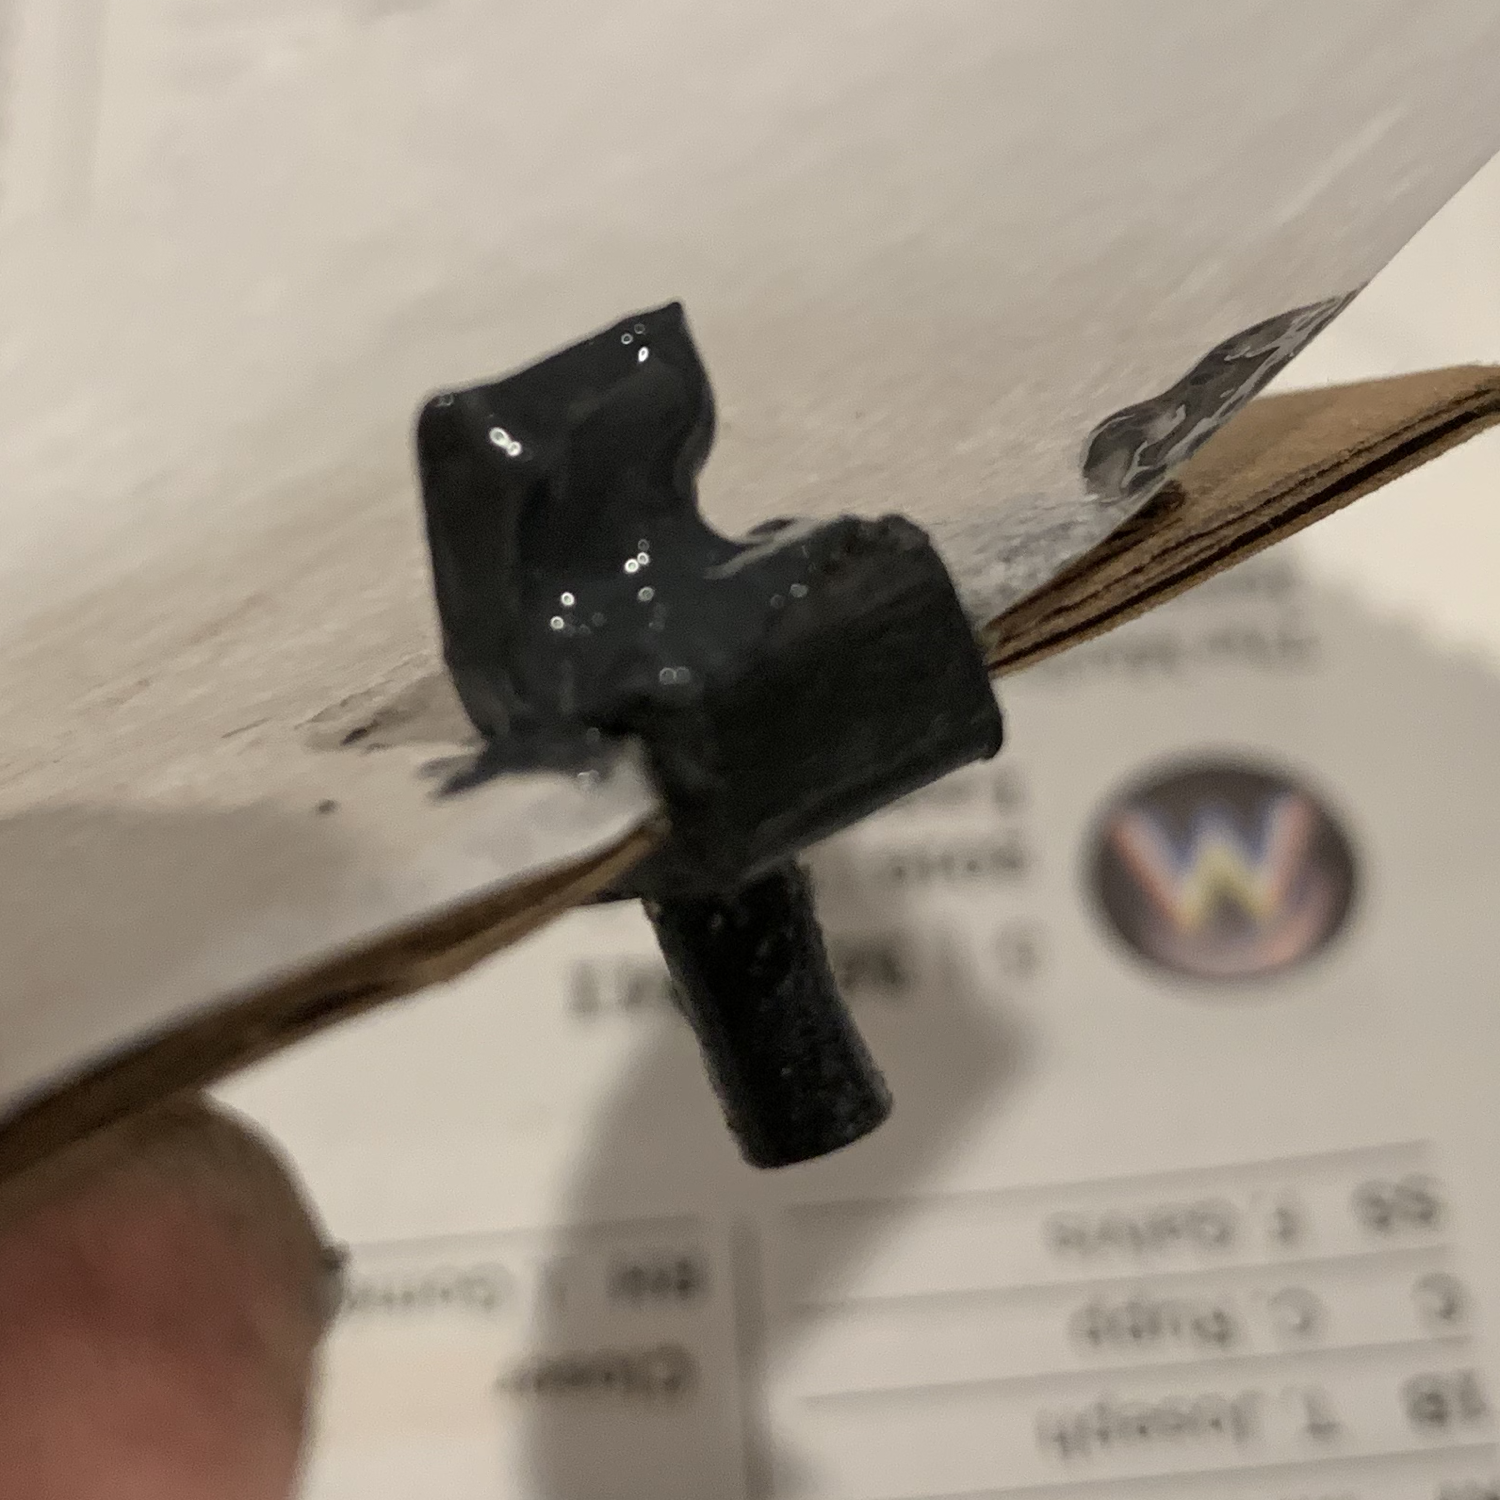
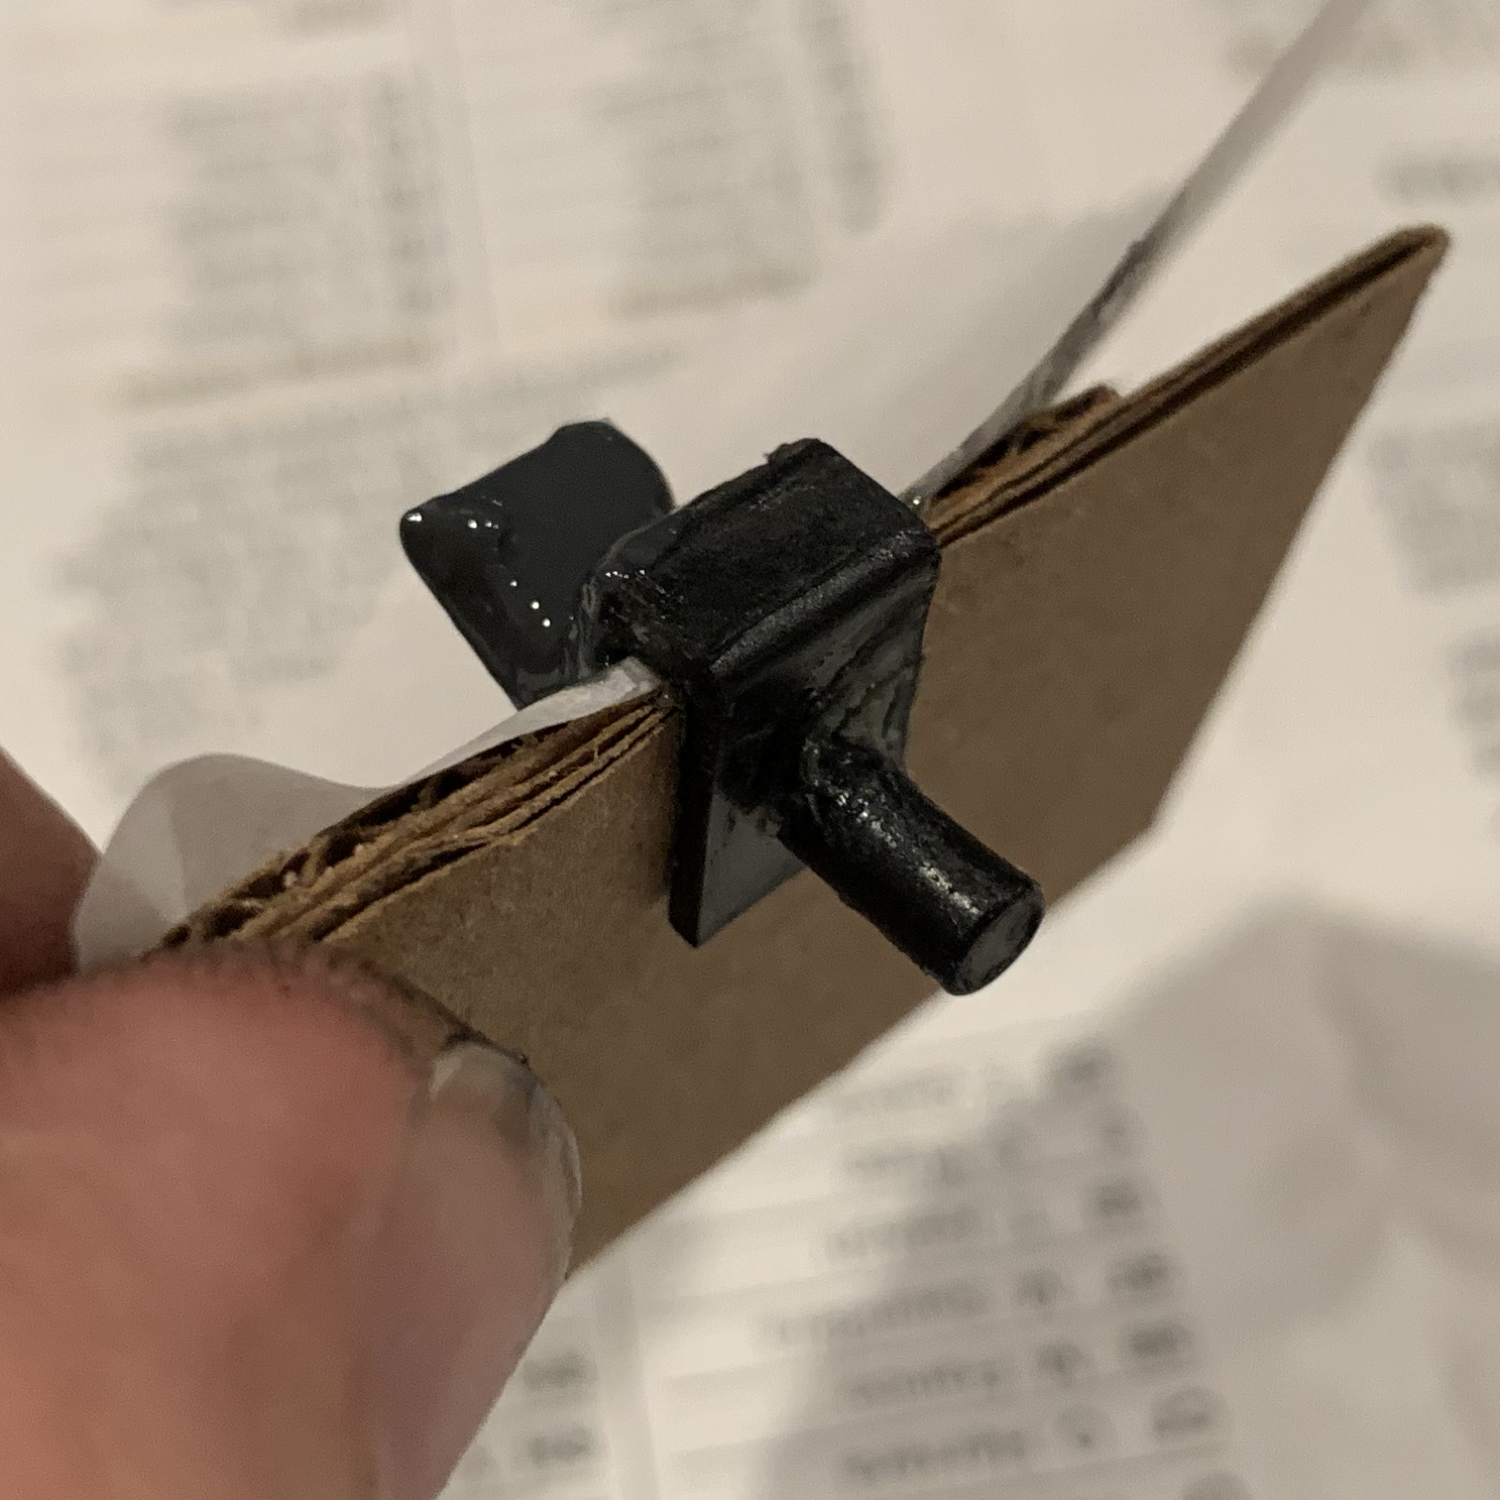

The I realized that the plastic doodad needed to act as a sleeve on one of the shafts, or it would fall off. So I added another piece of binderclip metal that would keep the piece on the track.


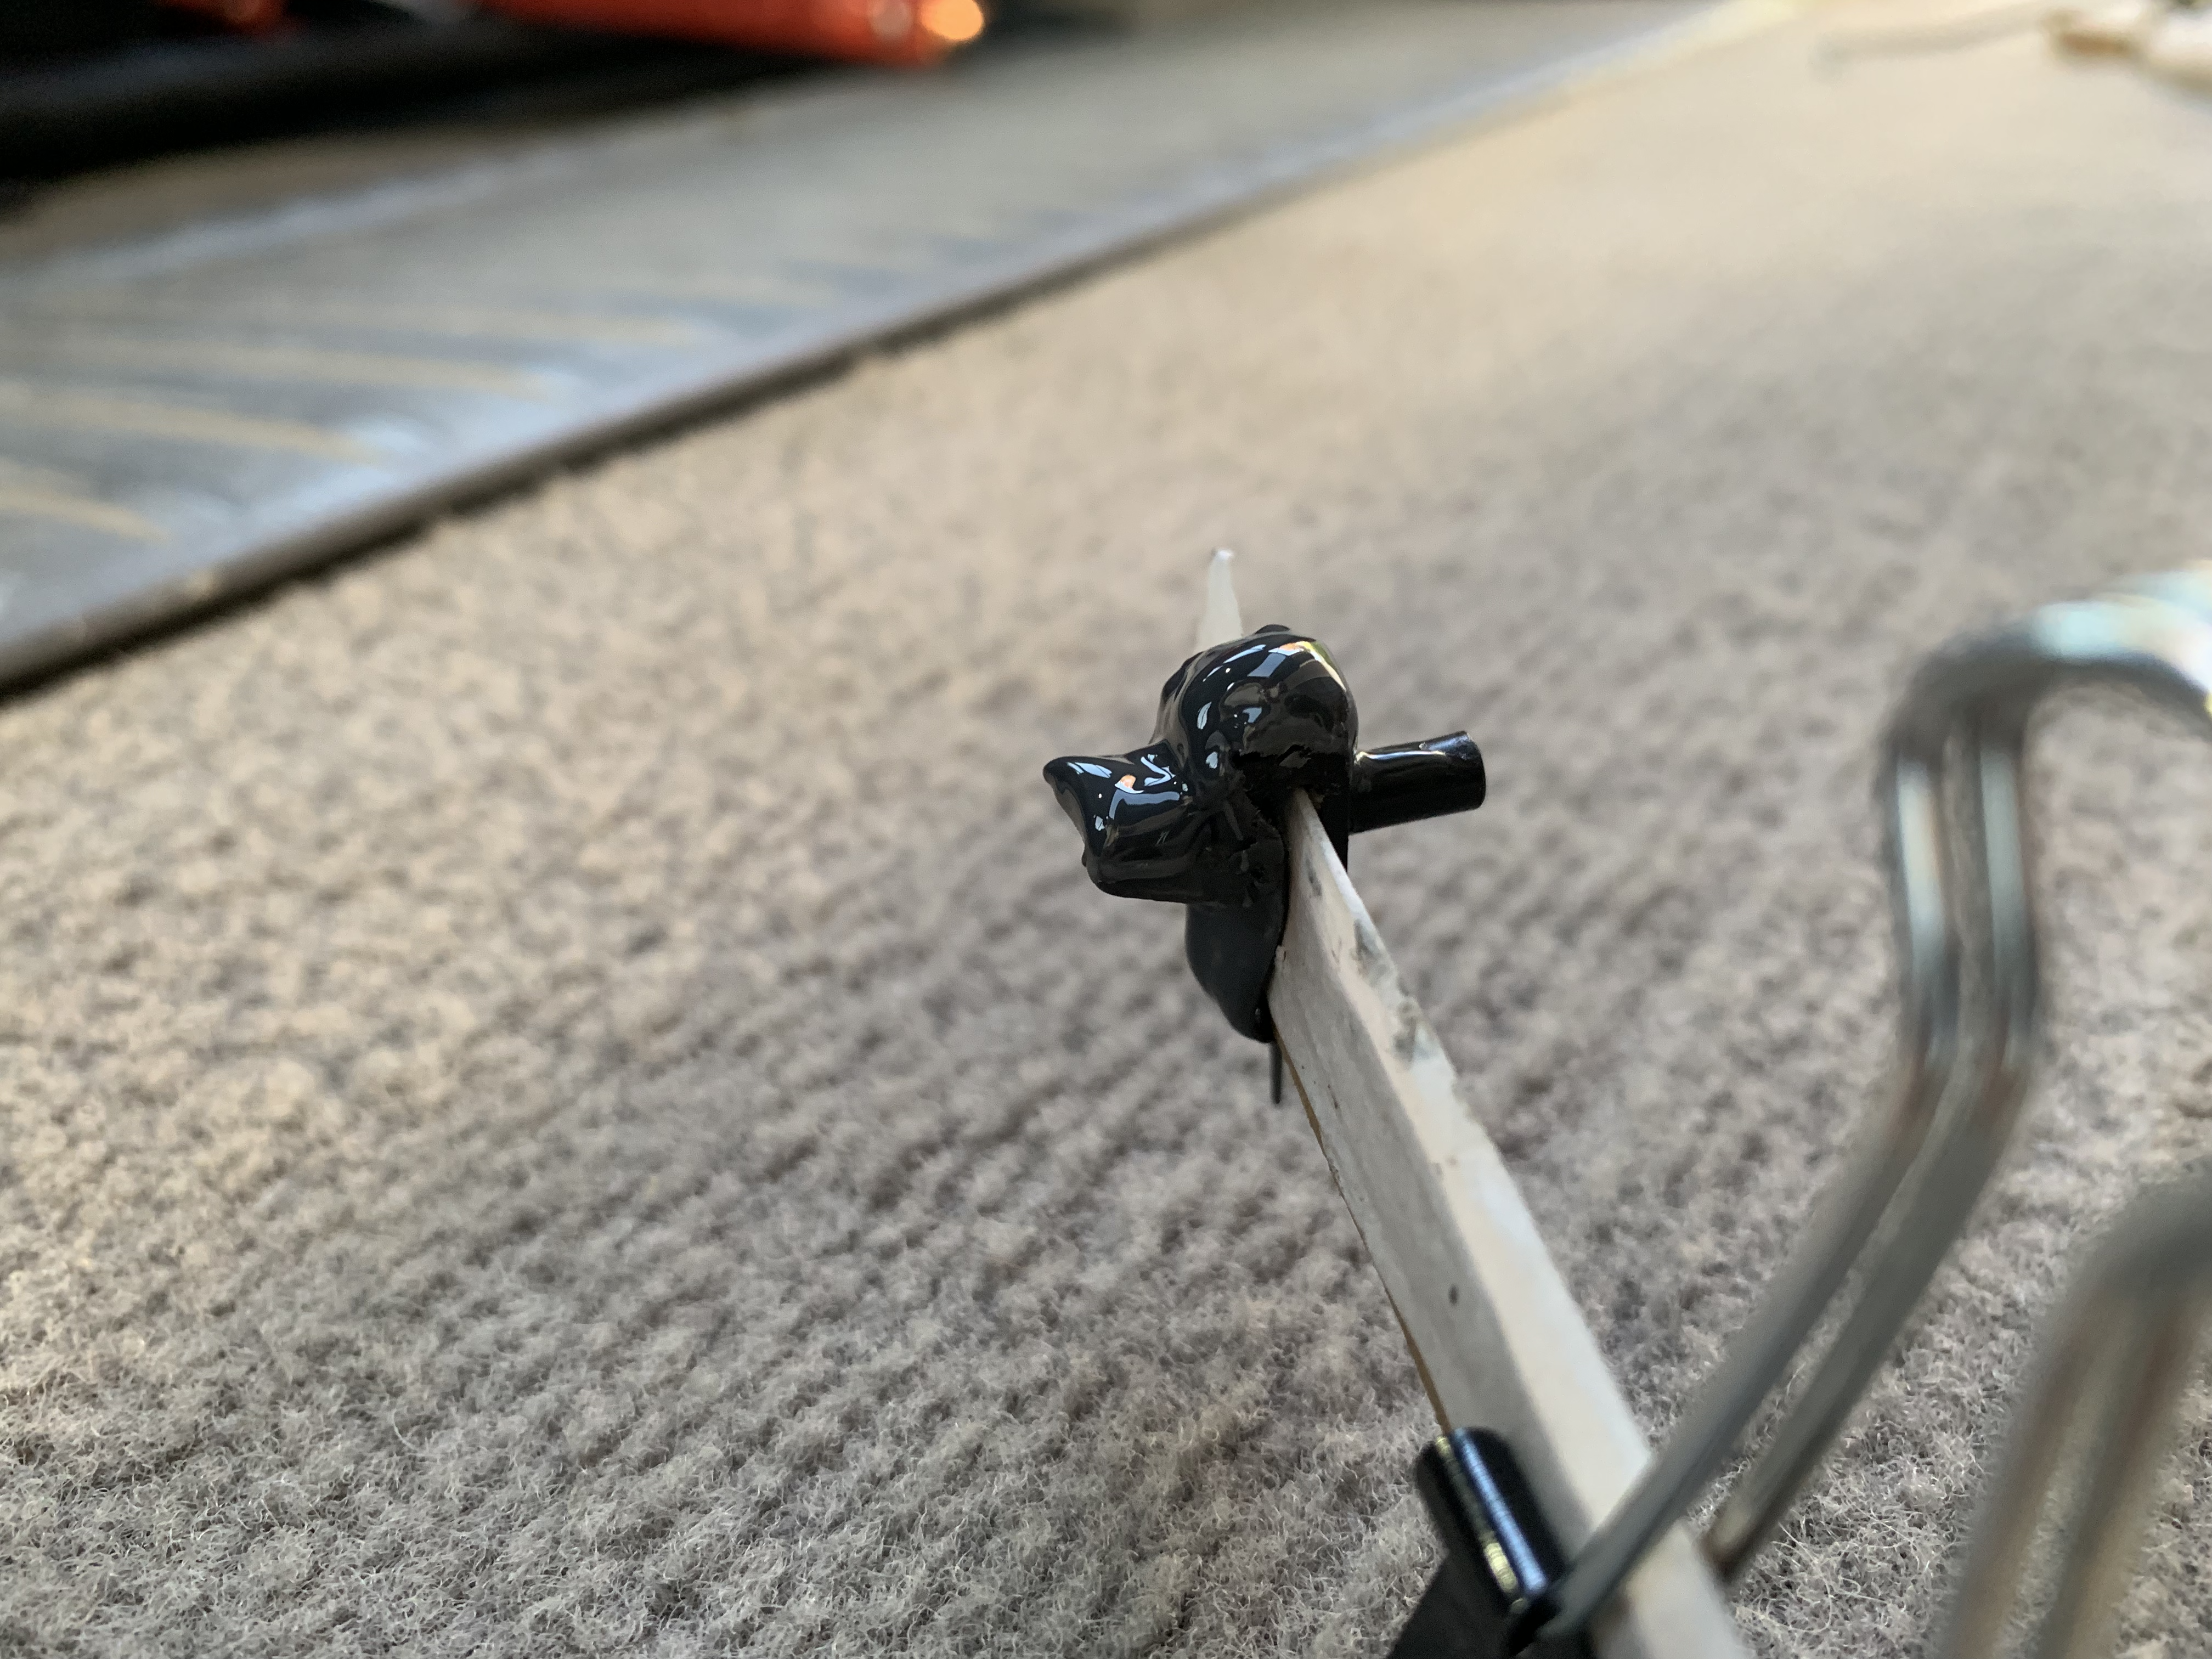
When the epoxy dried, I put the doodad into the lock mechanism.
There was too much epoxy! It prevented the smooth movement of the doodad along the metal shaft. When I tried to remove some of the epxy, all the epoxy came off! Cohesion exceeds adhesion!
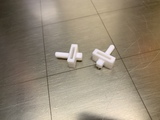
So I decided to pursue a different route to solving this problem. I made an orthographic sketch of the black piece of plastic, taking measurements from the piece that remained and from the lock mechanism. From those measurements, I made a CAD model using FreeCAD and sent the mesh to a pro to prototype it with a 3D printer. Here’s the pic the pro sent back to me of the pieces that should be in the mail to me right now.
Let’s hope this works!