Modding the Smoker
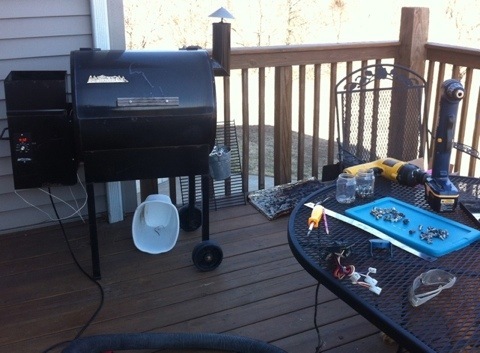
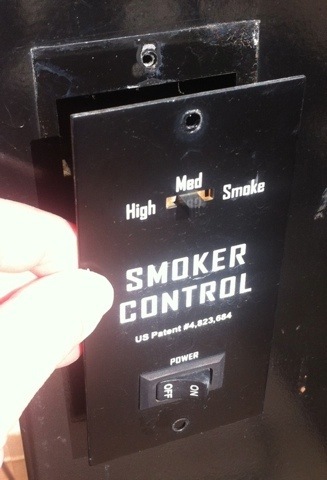
[maker food Last week, I caught up with an old friend who had turned me on to cooking with a smoker. I love grilling, whether it be over gas, over charcoal, or over an open pit fire. So adding a smoker to my collection of cooking tools was a thrill. My smoker is an old Traeger Lil’ Tex. This smoker burns wood pellets that are drawn slowly into an ignition well by an electric auger. The smoking temperature is regulated by a three position thermostat. Its setting are smoke, medium, and high. This doesn’t give much control over the cooking temperature. When my old friend said he had a couple digital thermostats gathering dust on a garage shelf, I jumped at the chance to upgrade. Here’s how it worked.
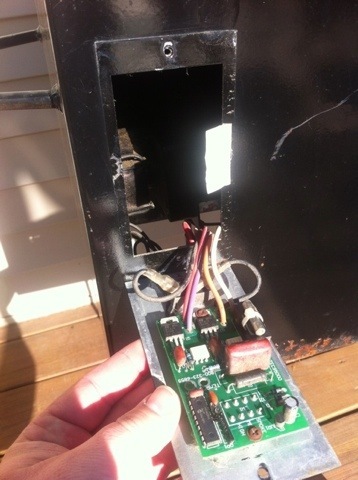
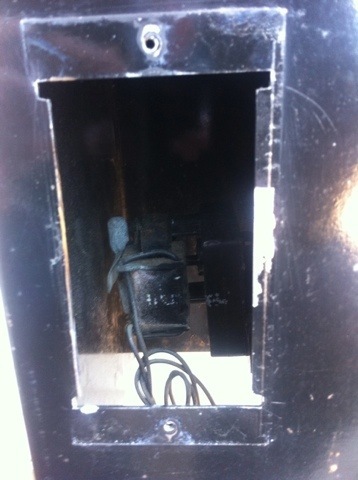
The old thermostat is easy to remove from the smoker: two screws. The thermostat’s board is connected to grill electricals by 6 wires and four connectors. Having read that wire colors on either side of the connectors might be inconsistent, I waited to disconnect the old thermostat until I was ready to install the new digital replacement. My assumptions about this job being simple where shattered when I compared the boards side by side.
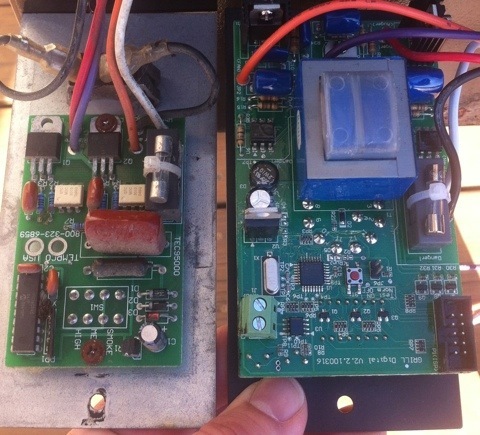
The new board was wider than the old board. So wide that it wouldn’t fit through the hole in the grill’s face.
I toyed with the idea of disconnecting the board form the faceplate, but dropped that idea when I couldn’t figure out how to remove the thermostat knob. (The new board seemed to be held onto its faceplate with one screw and the know, so removing these could have been easier than the approach I took. But I didn’t want to break something.)
A call to Traeger revealed that this difference in size was a design flaw. (Hmmmm.) I was also told that most people who upgrade thermostats on an old grill like mine use a metal file or a Dremel tool to widen the opening by an eighth of an inch on either side.
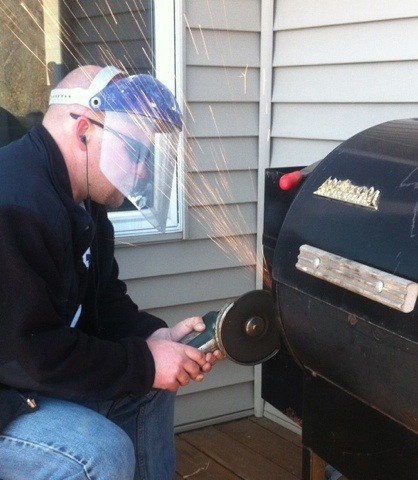
I used a metal file to create a couple notches on each side of the opening. This took a bit of work. There was no way I was filing the whole thing a quarter inch wider! So I borrowed a grinder from my neighbor and did the job.
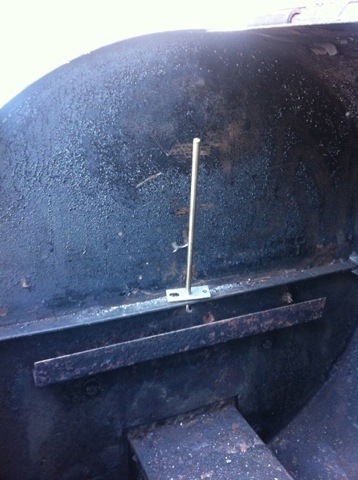
Then I drilled two quarter inch holes in the smoking chamber for the temperature probe. The side of the chamber already had a hole that I used to run the probe wires to the thermostat’s board. Connecting those wires was easy. Connecting the wiring of the grill to the new board was also easy. (Probably because I waited until that moment to disconnect the old board.)
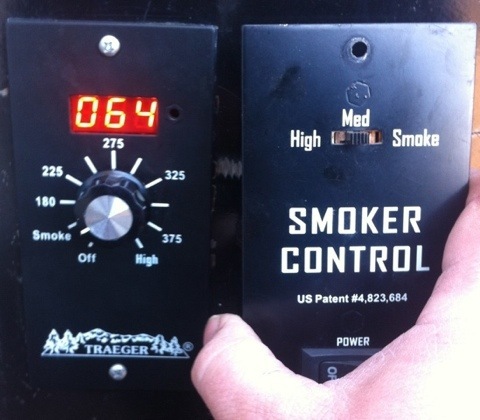
After screwing the new faceplate into the grill, the job was done. The thermostat powered up just as expected, and initial test had it maintaining a low-temp smoking environment in the cooker and maintaining a high temperature grilling environment. I haven’t compared the thermostat’s temperature readings to a second thermometer yet because I’m just pleased to have a greater degree of control over my smoking environment. So pleased that we’ll be smoking a chicken in a few hours. I’ll let you know how it turns out.